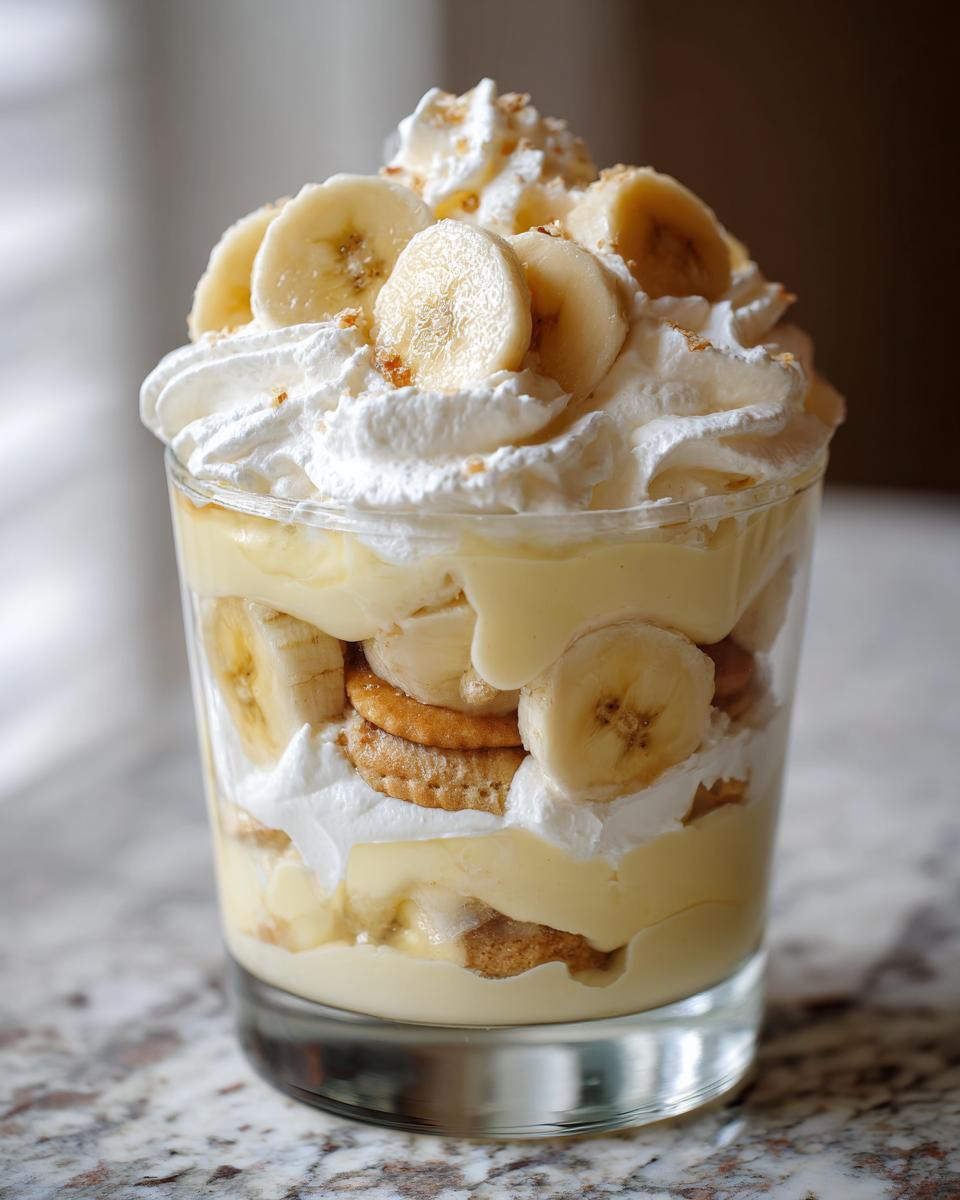
There are some desserts that just *feel* like a hug, you know? Like coming home after a long day, or a Sunday afternoon spent with family. For me, that’s classic banana pudding. It’s the kind of dessert that whispers comfort and happy memories. My grandma used to make the most incredible version, and while I’ve tinkered a bit over the years, the heart of it remains the same – simple ingredients coming together to make something truly magical. This is my recipe for a truly classic banana pudding with homemade whipped cream, and trust me, it’s a game-changer. Forget those boxed mixes, this is the real deal and part of my favorite Dessert Recipes for Classic Banana Pudding With Homemade Whipped Cream collection!
Why You’ll Love This Classic Banana Pudding With Homemade Whipped Cream
Seriously, why is this recipe a keeper? Let me tell you!
- It’s deceptively easy to make – you’ll be surprised how quickly it comes together!
- That homemade whipped cream? Oh my gosh, it’s SO much better than anything from a tub. Light, airy, and just perfectly sweet.
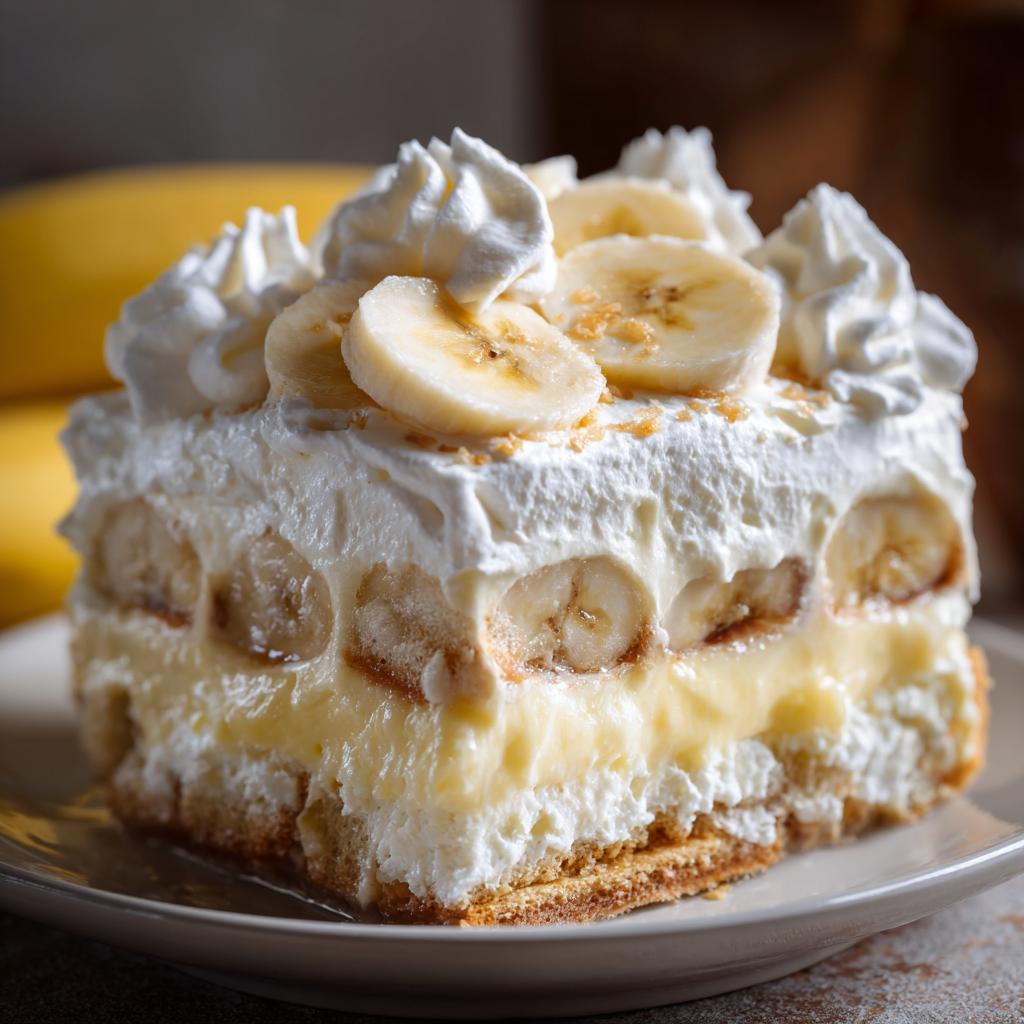
- The combination of creamy custard, soft bananas, and crunchy wafers is just pure bliss.
- It’s pure comfort food, perfect for any occasion or just because.
- It truly tastes like a hug in a bowl.
Ingredients for Classic Banana Pudding With Homemade Whipped Cream
Okay, let’s talk about what you’ll need to make this dreamy banana pudding. It’s mostly pantry staples, but oh-so-important for that classic taste!
For the Custard
- 1/2 cup granulated sugar
- 1/4 cup cornstarch
- 1/4 teaspoon salt
- 3 cups whole milk (this makes it extra creamy, trust me!)
- 4 egg yolks, lightly beaten
- 2 tablespoons unsalted butter
- 1 teaspoon vanilla extract
For Assembly
- 1 package vanilla wafers (the good ol’ kind!)
- 3-4 ripe bananas, sliced (not too mushy, not too green!)
For the Whipped Cream
- 2 cups heavy cream, nice and cold
- 1/4 cup powdered sugar
- 1 teaspoon vanilla extract
Essential Equipment for Your Dessert Recipes
You don’t need a fancy kitchen for this one! Just a few trusty tools will get you there. You’ll want a good saucepan for making that luscious custard, and a whisk is your best friend for getting it perfectly smooth. Grab a couple of mixing bowls – one for the custard, one for that glorious whipped cream. An electric mixer will make whipping cream a breeze, but a robust whisk and some arm power can work too! And of course, a nice serving dish to show off your masterpiece.
Step-by-Step Guide to Making Classic Banana Pudding
Alright, let’s get down to business and make this banana pudding magic happen! It’s a few steps, but each one is totally worth it.
Making the Rich Custard Base
First things first, that luscious custard! Grab a medium saucepan and whisk together your sugar, cornstarch, and salt until they’re good friends. Then, slowly whisk in the milk. Put it over medium heat and stir, stir, stir! You want it to thicken up and just start to boil. Let it boil for one minute while you keep stirring – don’t walk away, this is important! Just before you take it off the heat, take about a cup of that hot milk mixture and whisk it into your lightly beaten egg yolks. This is called tempering, and it stops the eggs from scrambling. Now, pour that back into the pot and cook for another two minutes on low, stirring constantly. Take it off the heat, stir in the butter and vanilla until it’s smooth and glorious. Pour it into a bowl, press plastic wrap right onto the surface (that traps any weird skin from forming!), and let it cool a bit before popping it in the fridge for at least 2 hours, or until it’s totally chilled and set. You can think of it like getting ready for a nice little spa treatment, similar to how we prepare lemon cream chia pudding!
Creating the Perfect Homemade Whipped Cream
Now for the cloud-like topping! Make sure your heavy cream is super cold – this is key! Pour it into a big bowl and get your electric mixer going on medium-high speed. Beat it until it starts to get a little fluffy and soft peaks form. Toss in your powdered sugar and vanilla extract. Keep beating until you’ve got those beautiful stiff peaks – you know, the kind that stand straight up when you pull the beaters out. It’s seriously so easy and tastes infinitely better than store-bought!
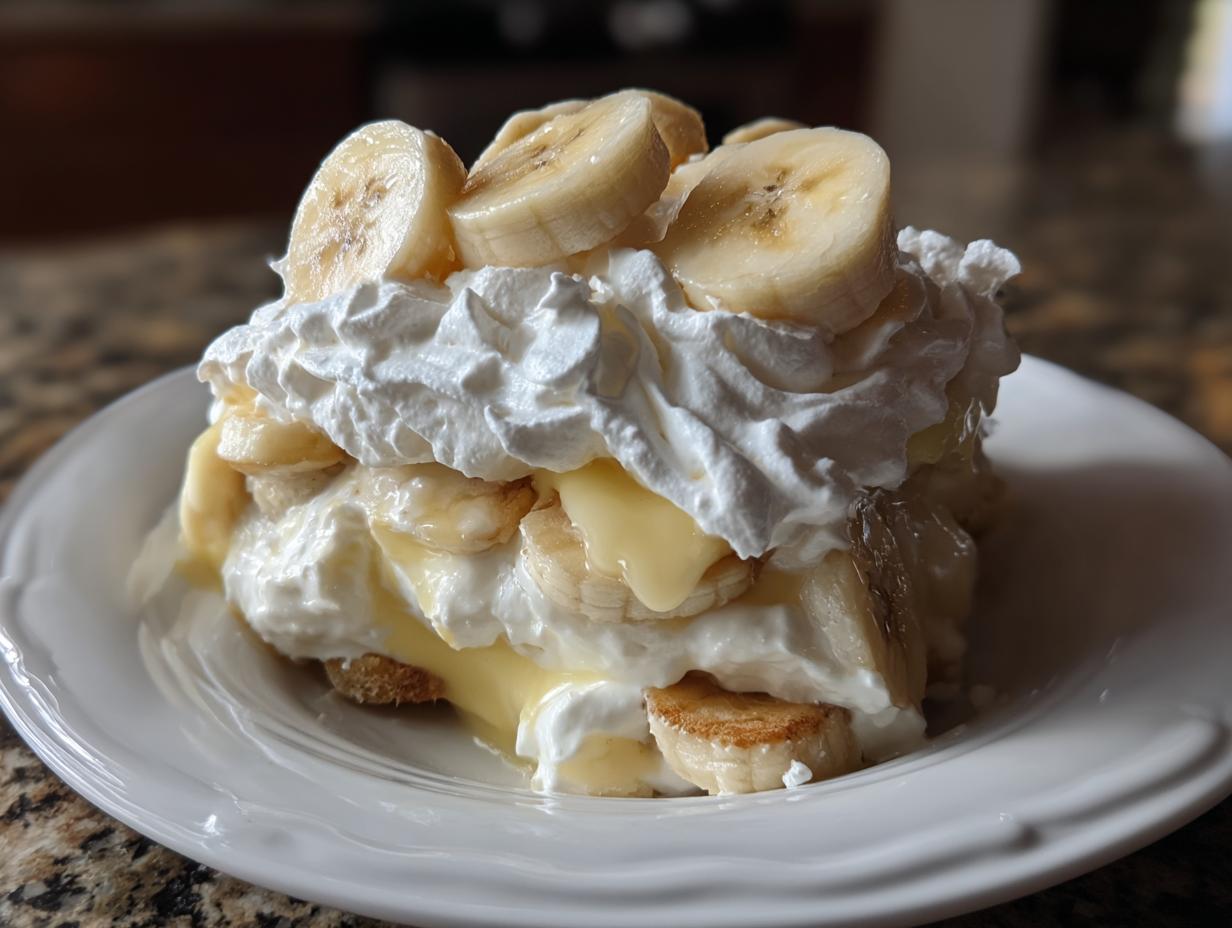
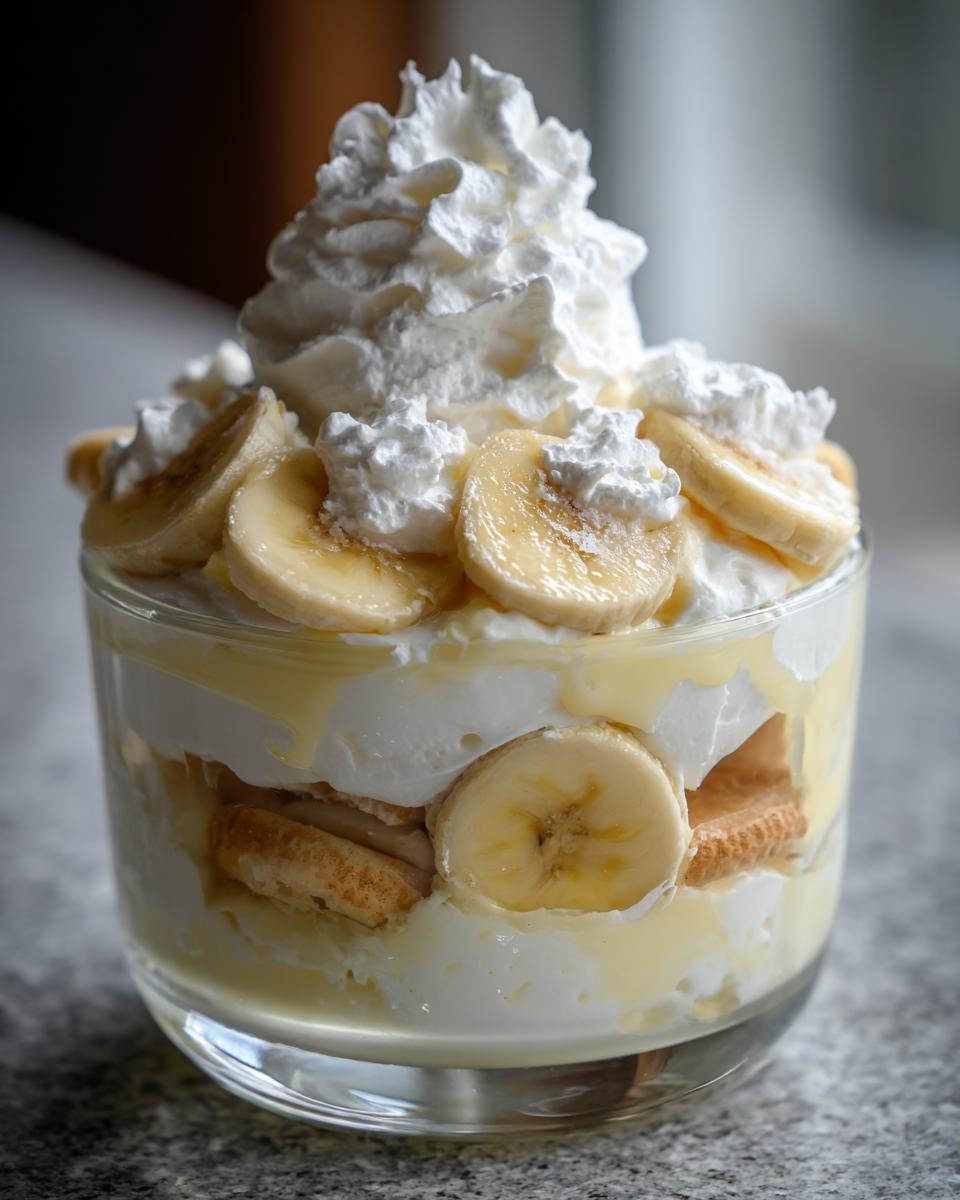
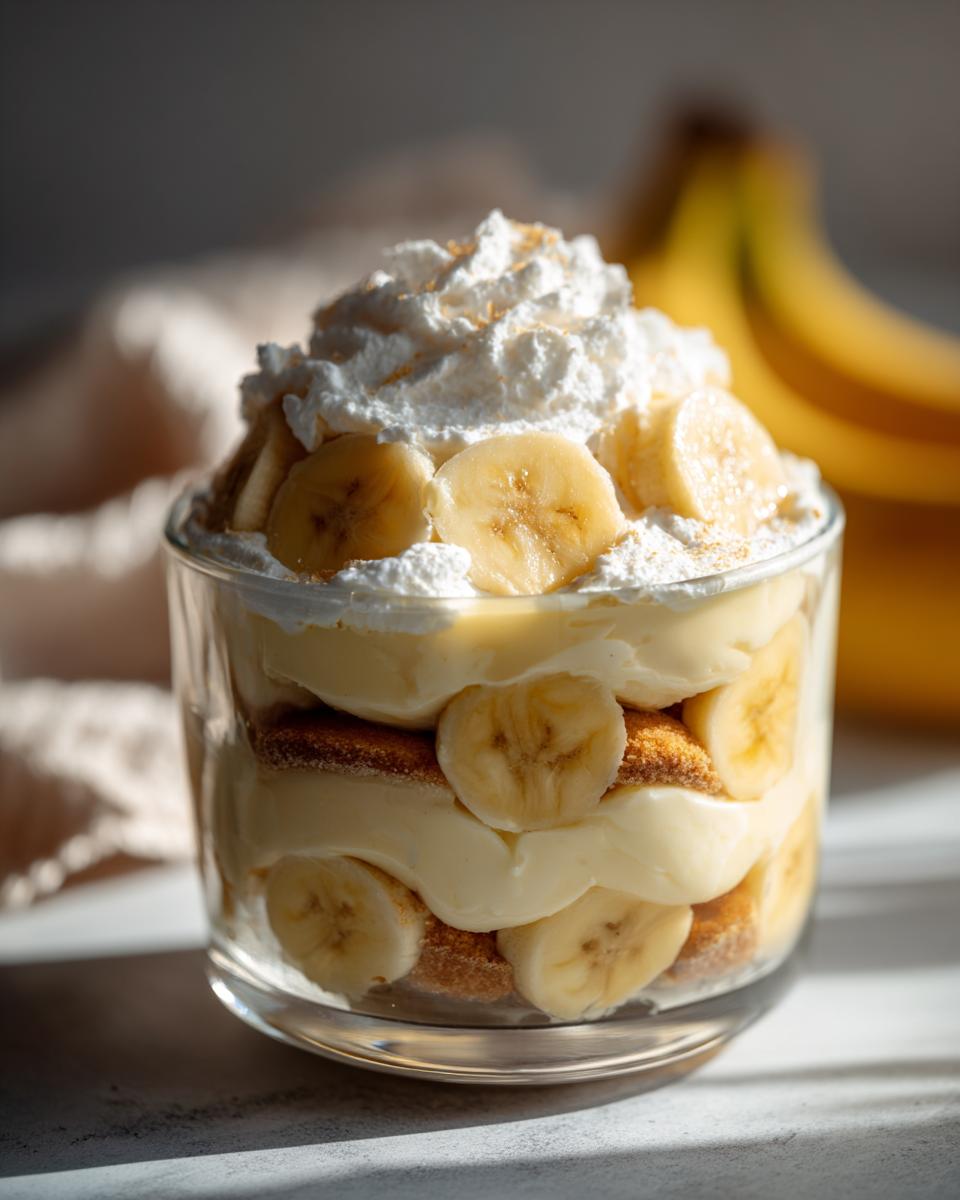
Assembling Your Classic Banana Pudding
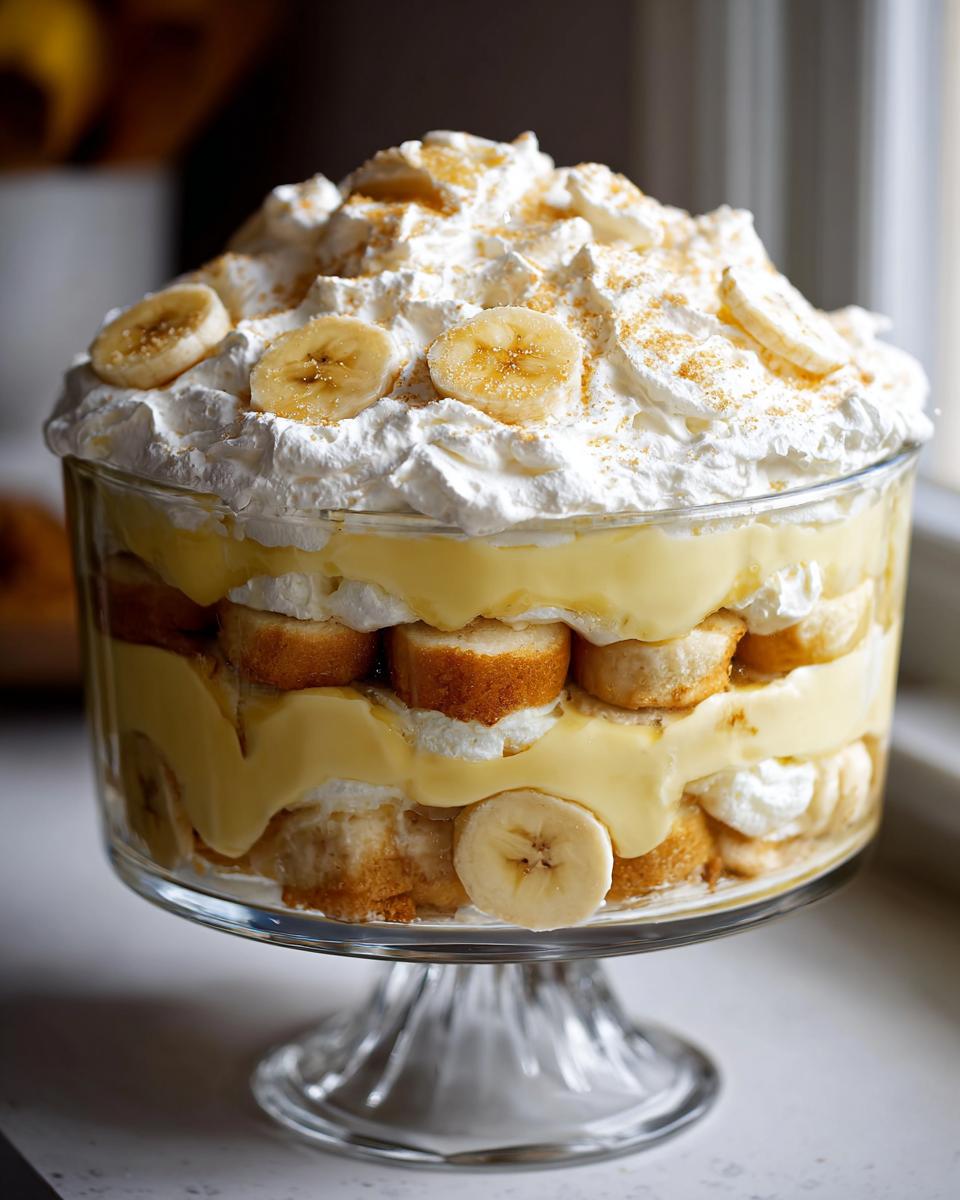
Time to bring it all together! Grab your prettiest serving dish. Start with a layer of vanilla wafers right on the bottom. Then, arrange a nice layer of those sliced ripe bananas over the wafers. Spoon about half of your chilled, silky custard right over the bananas. Easy peasy! Now, just repeat the layers: another layer of vanilla wafers, another layer of bananas, and then pour the rest of that gorgeous custard on top. Finally, spread your fluffy homemade whipped cream evenly over the very top. Cover the whole thing up and let it chill in the fridge for at least 30 minutes so all those amazing flavors can get to know each other. It’s like a little flavor party in there!
Tips for the Best Banana Pudding
Okay, friends, let me share a few little secrets I’ve picked up over the years that make this banana pudding truly sing. First off, the bananas! You want them ripe, but not *too* mushy. A few little brown spots are perfect – that’s where the sweetness lives! Next, that custard is key. Make sure it’s really thick before you chill it; a thinner custard can make your pudding soupy. And when you’re layering, don’t be shy with the wafers or bananas – they’re the stars of the show with that creamy custard! A little patience chilling definitely pays off!
Ingredient Notes and Substitutions for Banana Pudding
We all reach for different things in our pantry sometimes, and that’s totally okay! If you can’t find vanilla wafers, graham crackers or even pound cake slices work in a pinch, though they’ll change the texture a bit. For the milk, whole milk gives you the richest custard, but 2% can work if that’s what you have. Just remember, the less fat, the less creamy it might be! If you’re avoiding dairy, you could try a good quality oat milk or soy milk for the custard, but the flavor will definitely be different. For the whipped cream, if heavy cream is being shy, use the highest fat content cream you can find. And if you’re curious about cottage cheese in desserts… well, that’s a whole other adventure, but not really for this classic banana pudding!
Frequently Asked Questions About Dessert Recipes
Got questions about whipping up this classic banana pudding? I’ve got you covered!
Can I make banana pudding ahead of time?
You absolutely can! In fact, it’s better if you do! Making it a few hours ahead, or even the day before, lets those flavors really meld together beautifully. Just be sure to add the whipped cream topping right before serving, or keep it separate and add it just before you dish it out so it stays nice and fluffy.
What kind of bananas are best for banana pudding?
You’re looking for bananas that are ripe but still have a little bit of firmness to them. Think pretty yellow with just a few small brown spots. If they’re too green, they won’t be sweet or soft enough. If they’re *too* ripe and bruised, they can get mushy and make your pudding watery. A nice, sweet, slightly soft banana is perfection!
How long does homemade whipped cream last?
Homemade whipped cream is best enjoyed the day it’s made, honestly. It can usually last in the fridge for about 2-3 days if it’s stored in an airtight container. However, it might start to weep a bit or lose some of its fluffiness the longer it sits. If it does, just give it a quick whisk before serving!
Can I use pudding mix instead of making custard from scratch?
You *could*, but oh my goodness, you’d be missing out on SO much flavor and that luxurious texture! Making the custard from scratch might sound a little intimidating, but it’s really quite simple and the difference in taste and feel is huge. It’s totally worth the extra few minutes!
Nutritional Information
Just a heads-up, the nutritional info for homemade banana pudding can totally change depending on the exact ingredients you use – like the type of milk, how much sugar, or even the brand of wafers! But generally, this recipe serves about 8 people and each serving is roughly around 400-500 calories, with a good mix of carbs, some fat, and a decent amount of protein from those eggs and milk. It’s a treat, for sure!
Classic Banana Pudding With Homemade Whipped Cream
Ingredients
Equipment
Method
- Make the custard: In a medium saucepan, whisk together the granulated sugar, cornstarch, and salt.
- Gradually whisk in the milk until smooth.
- Cook over medium heat, stirring constantly, until the mixture thickens and comes to a boil. Boil for 1 minute, stirring constantly.
- Remove from heat. In a small bowl, whisk the egg yolks. Gradually whisk about 1 cup of the hot milk mixture into the egg yolks to temper them. Pour the tempered egg yolk mixture back into the saucepan.
- Return the saucepan to medium-low heat and cook, stirring constantly, for 2 more minutes. Do not boil. Remove from heat and stir in the butter and vanilla extract until the butter is melted and the custard is smooth.
- Pour the custard into a bowl. Cover the surface directly with plastic wrap to prevent a skin from forming. Let cool slightly, then refrigerate for at least 2 hours, or until completely chilled.
- Make the whipped cream: In a large bowl, beat the cold heavy cream with an electric mixer on medium-high speed until soft peaks form.
- Add the powdered sugar and vanilla extract. Continue beating until stiff peaks form.
- Assemble the pudding: Spread a layer of vanilla wafers in the bottom of your serving dish. Top with a layer of sliced bananas.
- Spoon about half of the chilled custard over the bananas. Repeat the layers: vanilla wafers, bananas, and the remaining custard.
- Spread the whipped cream evenly over the top layer of custard. Cover and refrigerate for at least 30 minutes before serving to allow the flavors to meld.