Ah, the holidays! That magical time of year when the air feels crisp, the decorations twinkle, and the kitchen becomes the warmest room in the house. For me, it’s always been about more than just the turkey; it’s the side dishes that truly make the meal sing. And at the absolute top of that list? Stuffing. Specifically, that incredible, savory, herb-infused goodness you dream about long after the last bite. You know, the kind that makes you wonder if it was made by a Michelin-star chef. Well, get ready to recreate those amazing flavors right in your own kitchen because we’re diving into Restaurant-Style Stuffing Recipes at Home (2025)! Growing up, my aunt’s stuffing was legendary. It was always the dish everyone raved about, and I spent years trying to figure out her secrets so I could bring that same taste of pure holiday comfort to my own table. Trust me, perfecting this restaurant-style stuffing at home isn’t as daunting as it sounds, and the results? Pure magic.
Why You’ll Love These Restaurant-Style Stuffing Recipes at Home (2025)
Seriously, why should you even bother with this recipe? Let me tell you why you’ll be obsessed:
- Easiest Gourmet Stuffing Ever: You get that incredible, cozy, “wow, this tastes like it came from a fancy restaurant” flavor without all the fuss. It’s surprisingly simple!
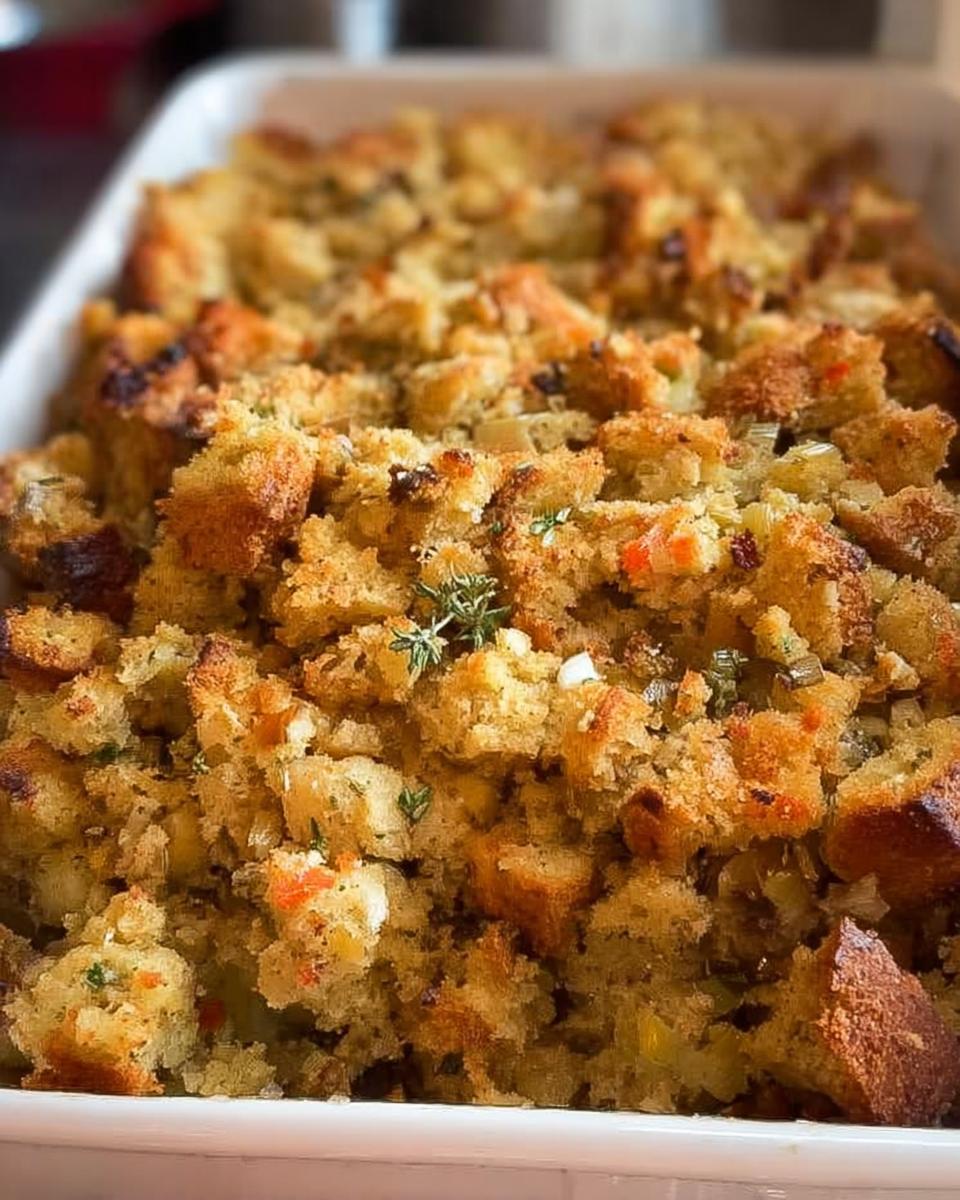
- Flavor Explosion: We’re talking perfectly toasted bread, savory herbs, and just the right touch of aromatics. It’s the stuff of holiday dreams!
- Perfect Texture, Every Time: Forget soggy lumps! This method gives you that delightful crispiness on top with a moist, tender center. It’s just… *chef’s kiss*.
Gather Your Ingredients for Restaurant-Style Stuffing
Alright, let’s get our ducks in a row! You’ll want to have these on hand to nail that perfect stuffing flavor. Trust me, the quality of your ingredients makes a huge difference:
For the Stuffing:
- 30 slices of white bread, lightly toasted (this is key for texture!)
- 2 tablespoons butter
- 1 large onion, finely chopped
- 2 stalks celery, finely chopped
- 2 cups chicken broth
- 2 large eggs, lightly beaten
- 2 tablespoons water (just in case you need a little extra moisture, optional)
- 2 teaspoons rubbed sage (don’t skimp on the herbs!)
- 1 teaspoon garlic powder
- Salt and ground black pepper, to taste
Having everything prepped makes the actual cooking so much smoother. For more easy recipe ideas, check out our recipe category!
Essential Equipment for Making Restaurant-Style Stuffing
Okay, you’ve got your ingredients ready, now let’s talk tools! Having the right gear makes all the difference when you’re aiming for that perfect, restaurant-style stuffing. Here’s what you’ll need:
- Baking sheets: For perfectly drying out your bread.
- A 9×13-inch baking dish: The perfect size to get that lovely crispy top and moist interior.
- A big bowl: For mixing all those delicious ingredients together.
- A medium saucepan: To get those onions and celery nice and soft.
- A rolling pin: To crush those dried bread slices into just the right size crumbs.
Step-by-Step Guide to Restaurant-Style Stuffing Recipes at Home (2025)
Alright, now for the magic part! Getting that perfect, restaurant-style stuffing at home is totally doable. Follow these steps, and you’ll see why it’s worth the little bit of effort. You can find more great recipes right here!
Prepare the Bread for Perfect Stuffing Texture
First things first, that bread needs to feel totally dried out. Spread those 30 slices of white bread on baking sheets and just let them hang out at room temperature. You’re looking for them to get nice and hard, almost like croutons. This usually takes about 24 hours. Trust me, this step is CRUCIAL for getting that fluffy-yet-firm stuffing texture we’re going for, not a soggy mess!
Sauté Aromatics for Deeper Flavor
While your bread is doing its thing, set yourself up for flavor! Grab a medium saucepan and melt that 2 tablespoons of butter over medium heat. Toss in your finely chopped onion and celery. Cook them, stirring gently, until they’re soft and smell amazing, usually about 5 to 7 minutes. You don’t want them mushy, just tender. Once they’re ready, take the pan off the heat and drain off any extra liquid. This is going to add so much depth, like those fancy restaurants do!
Once your bread is ready and the veggies are sautéed, preheat your oven to 325 degrees F (165 degrees C). Lightly grease up your 9×13-inch baking dish – this makes sure nothing sticks!
Combine and Mix Your Restaurant-Style Stuffing
Time to bring it all together! Take those dried bread slices and give them a good crush. You can use a rolling pin, or even just your hands, to break them down into crumbly pieces. Toss these crumbs into a big bowl. Pour in your chicken broth and the lightly beaten eggs. Mix it all up so the crumbs are evenly moistened, but not totally soaked. If it seems a bit dry, a splash more water (that optional 2 tablespoons) can help. Now, gently mix in your cooked onion and celery mixture, the rubbed sage, garlic powder, and season with salt and pepper to your liking. Give it a good stir, but don’t overmix! You want the bread to hold some shape.
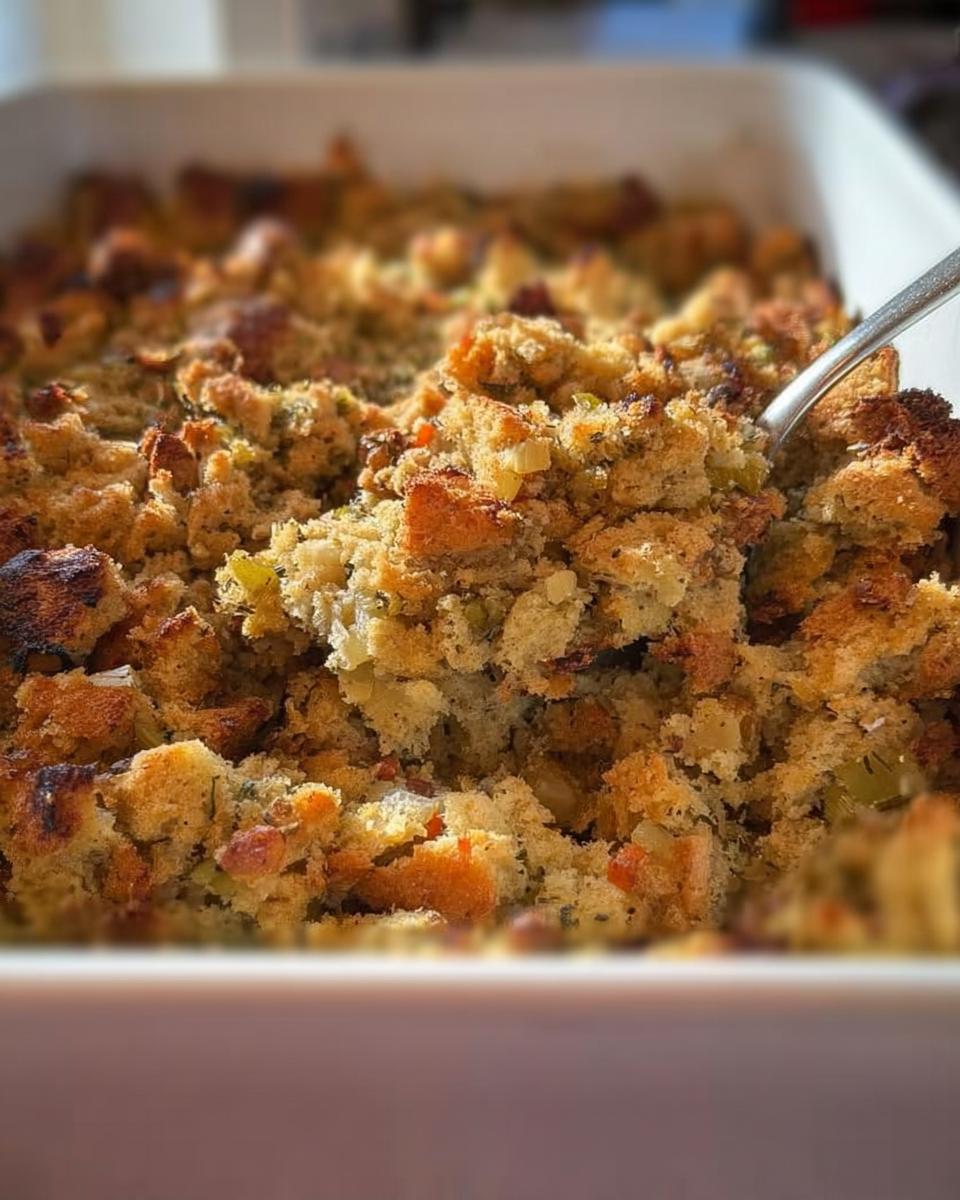
Bake to Golden Perfection
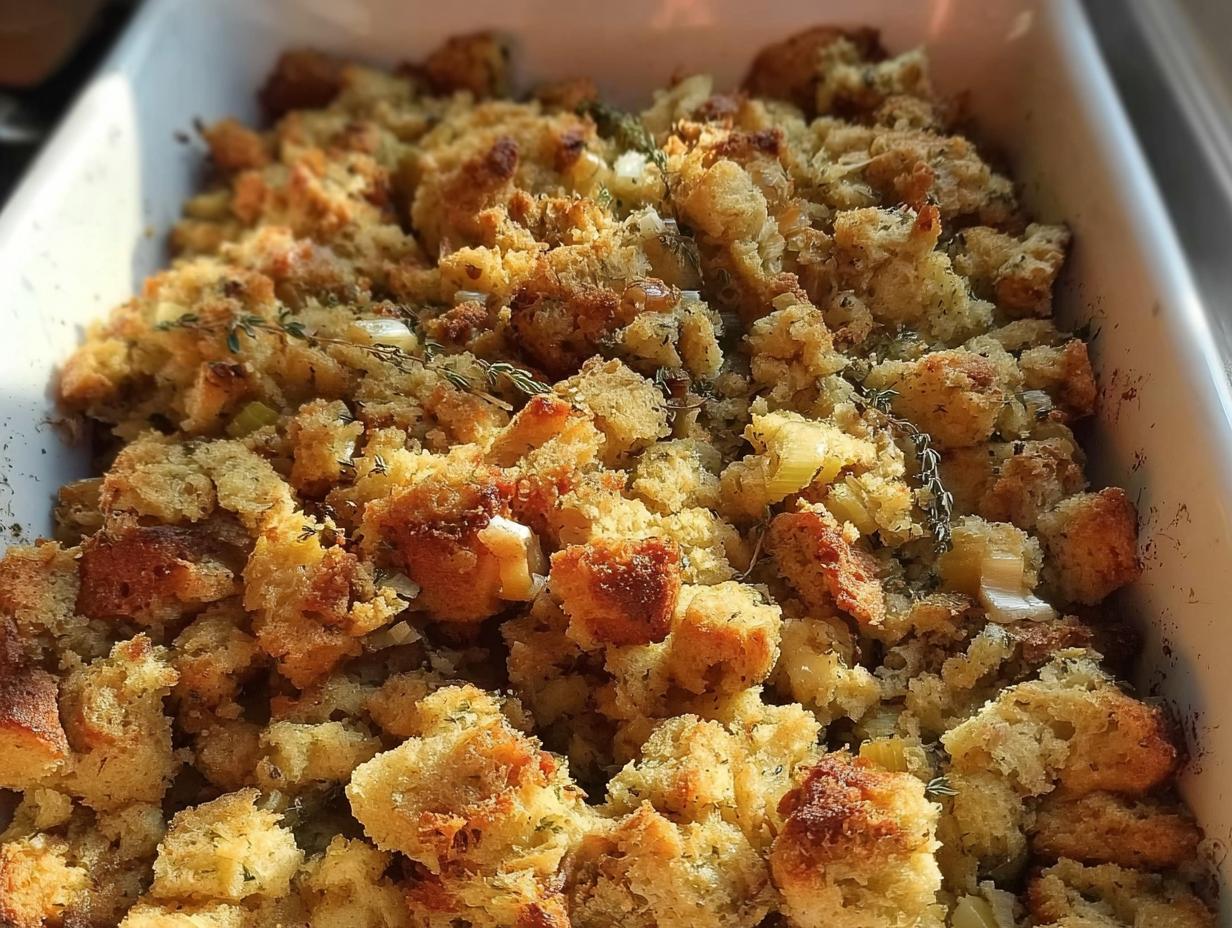
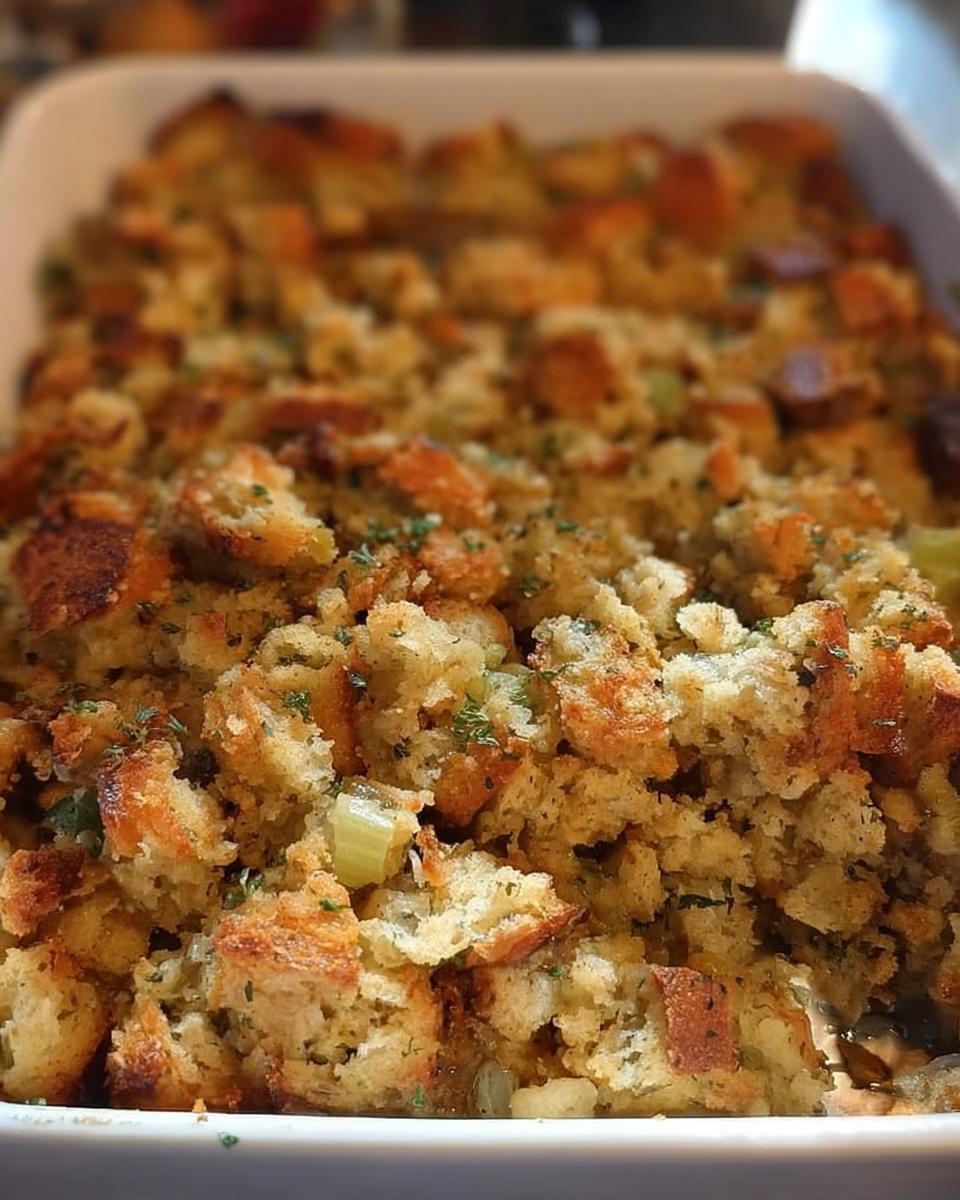
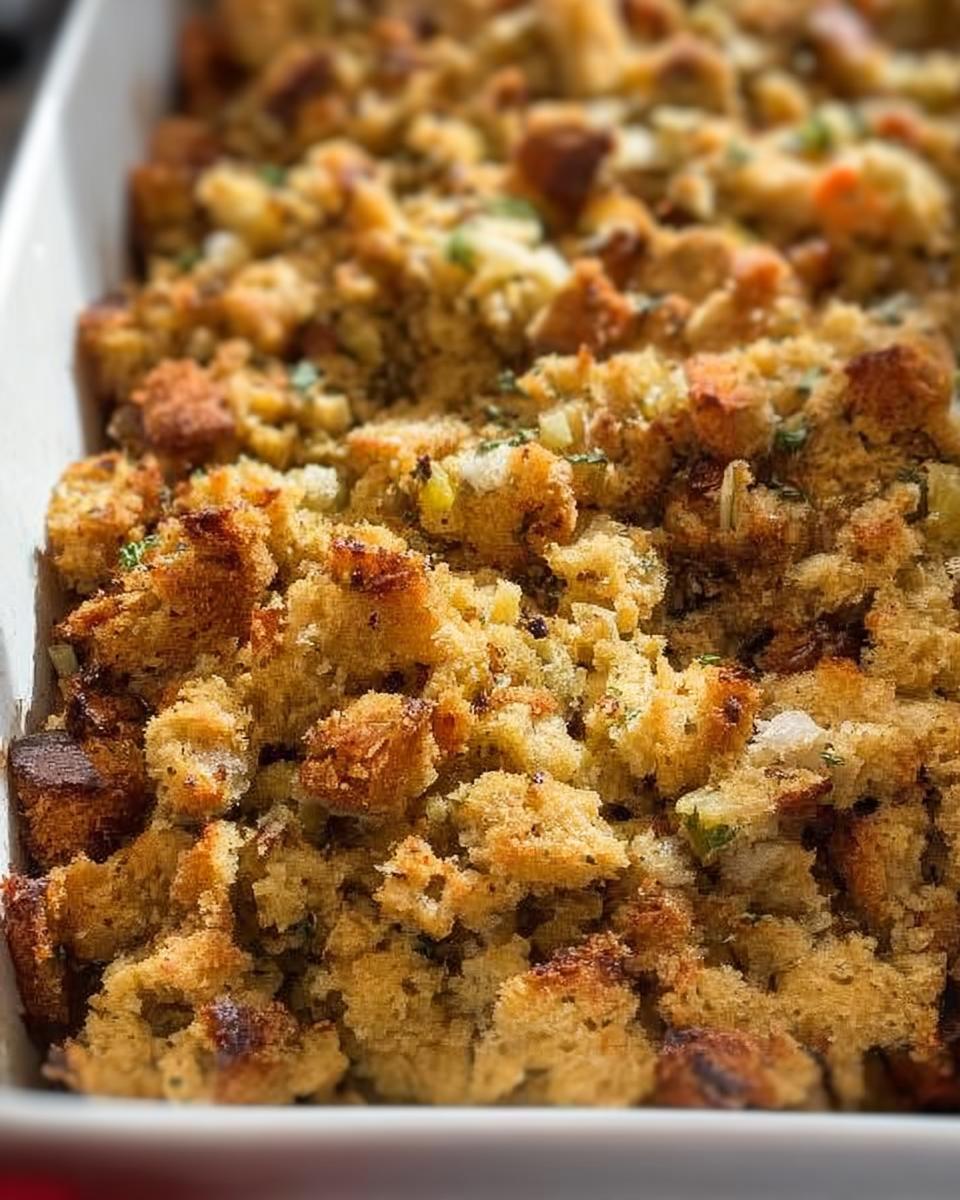
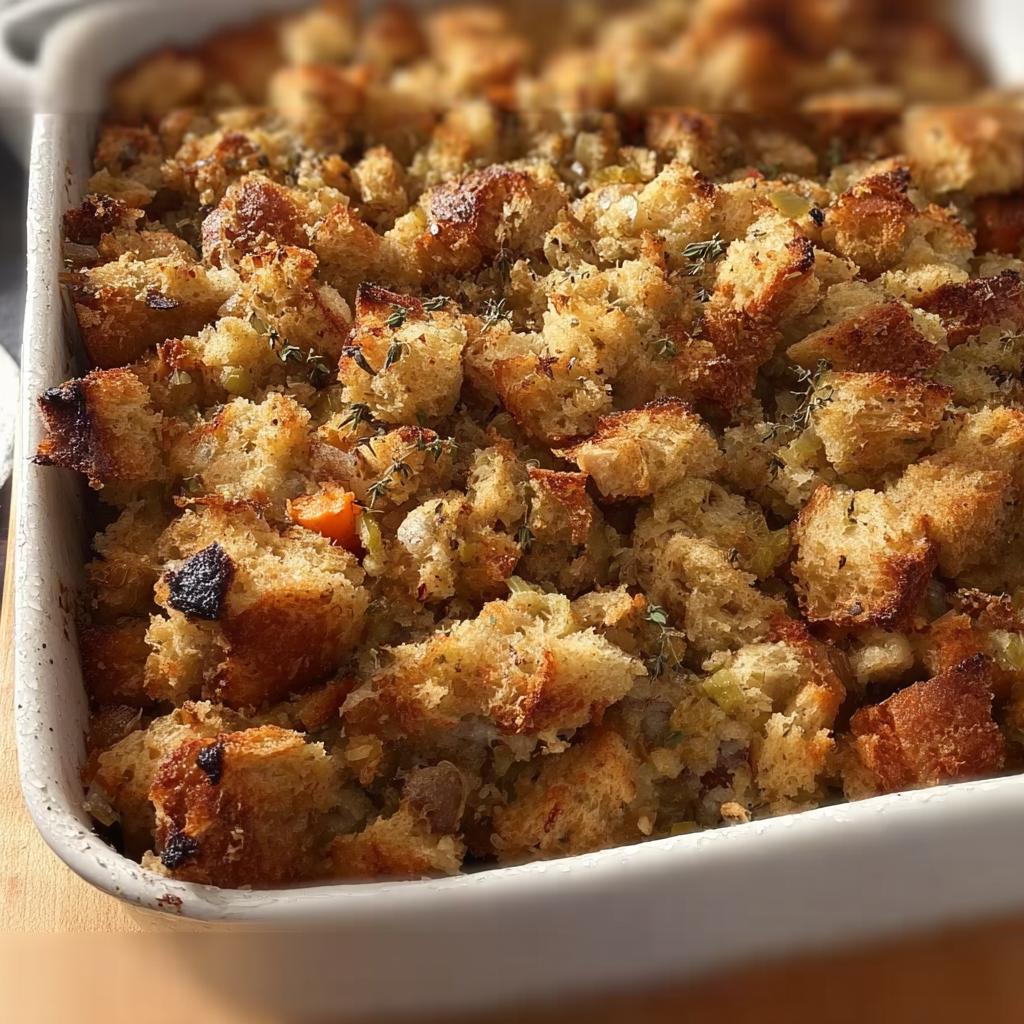
Finally, spread that glorious stuffing mixture evenly into your prepared baking dish. Really press it down gently so it’s compact enough to hold its shape but not squished. Pop it into your preheated oven. You’ll want to bake it for about 1 hour, or until that top layer is beautifully golden brown and nicely crisp. That contrast between the crisp top and the tender inside is pure restaurant-style heaven!
And there you have it! Serve it up piping hot and get ready for the compliments. For more inspiration, check out this classic recipe for ideas too!
Tips for Restaurant-Style Stuffing Success
You’re so close to stuffing perfection! A few little tricks can really elevate your dish from good to “OMG, I need the recipe!” Here are my go-to tips to make sure your stuffing is absolutely amazing, just like you’d get at a swanky restaurant:
Bread is Your Best Friend: Seriously, don’t skip drying out that bread! Using day-old or even slightly stale white bread is ideal. If you’re in a pinch, toasting it well in the oven until it’s firm is your best bet. It soaks up the liquid without turning into complete mush. Want to get creative with flavors? Maybe try some herb-infused bread like in this fun popcorn recipe!
Moisture Control is Key: The goal is moist, not soggy. That’s why we add the broth and eggs gradually. You want the bread crumbs nicely moistened, but not swimming. If you feel like it’s a bit dry, add a splash more broth or water, but slowly! It’s easier to add than to take away, right?
Crispy Top Magic: For that gorgeous, golden, crispy topping that everyone fights over, make sure you’re not packing the dish *too* tightly. Leaving a little breathing room helps the top get wonderfully crunchy. Also, baking uncovered is essential for this! That hour in the oven does wonders.
Ingredient Notes and Substitutions for Your Stuffing
Okay, let’s chat about these ingredients for a sec! Sometimes you might not have exactly what the recipe calls for, and that’s totally fine! This is where you can get creative. For the bread, while white bread is classic, you could totally use challah or even a good sourdough for a little tang. Just make sure it’s dried out really well, no matter what kind you pick! For the broth, chicken is great, but vegetable broth works like a charm too if you want to keep it vegetarian. And if you’re feeling fancy, try adding some fresh chopped parsley – it’s lovely, much like the herbs in this salmon recipe!
Serving and Storing Your Restaurant-Style Stuffing
This stuffing is just begging to be served piping hot, right out of the oven! It’s the perfect cozy complement to your holiday turkey, ham, or even just a big, hearty stew, kind of like the one you can find here. If you happen to have any leftovers (which is rare at my house!), just pop them into an airtight container and store them in the fridge for up to 3 days. To reheat, I like to spread it out on a baking sheet and warm it in a moderate oven until it’s nicely heated through and the top gets a little crispy again. Yum!
Frequently Asked Questions About Restaurant-Style Stuffing
Got questions about whipping up this amazing stuffing? I’ve got you covered! It’s less about complicated techniques and more about a few smart moves. If you have more questions, feel free to reach out!
Can I make restaurant-style stuffing ahead of time?
Absolutely! You can totally prepare the stuffing mixture the day before. Just mix everything together, store it covered in the fridge, and then bake it when you’re ready. You might need to add a splash more broth when baking if it seems a bit dry.
What is the best bread for homemade stuffing?
For that perfect texture, slightly stale, day-old white bread is your best bet. It toasts up nicely and soaks up all those delicious flavors without turning to mush. That’s what we did with the 30 slices in this recipe!
How do I get my stuffing crispy?
The trick to a crispy top is really in the bread drying step and making sure you don’t pack the mixture too tightly into the pan. Then, baking it uncovered for the full hour lets that beautiful golden-brown crust form. It’s all about that texture contrast!
Estimated Nutritional Information
Just so you have an idea of what you’re getting into, here’s a general breakdown of the estimated nutritional info per serving based on the recipe. Remember, these are just estimates, and they can vary a bit depending on the exact ingredients you use! If you want to know more about our kitchen standards, you can check out our About page.
Per serving (approximate):
- Calories: 101
- Fat: 2g
- Protein: 3g
- Carbohydrates: 17g
Share Your Restaurant-Style Stuffing Creations!
Alright, now that you’ve made your kitchen smell like the fanciest holiday feast, I’d LOVE to hear about it! Did it turn out just like you imagined? Did you add any special twists? Leave a comment below and tell me all about your amazing restaurant-style stuffing. And hey, if you’re looking for more delicious recipes and tips, don’t forget to sign up for our newsletter here! Happy cooking!
Restaurant-Style Stuffing Recipes at Home (2025)
Ingredients
Equipment
Method
- Spread toasted bread slices on baking sheets and let sit out at room temperature until hard, about 24 hours.
- Once bread slices are ready, gather all ingredients. Preheat the oven to 325 degrees F (165 degrees C). Lightly grease a 9×13-inch baking dish.
- Crush bread slices into crumbs with a rolling pin. Transfer crumbs to a large bowl.
- Melt butter in a medium saucepan over medium heat. Stir in onion and celery; cook and stir until soft, 5 to 7 minutes. Remove from heat and drain.
- Stir chicken broth and eggs into bread crumbs; mix until evenly moistened, but not soggy. Add water, if needed. Mix in cooked onion and celery, sage, garlic powder; season with salt and pepper.
- Press dressing mixture into the prepared baking dish.
- Bake in the preheated oven until the top is brown and crisp, about 1 hour.
- Serve hot and enjoy!