Oh, pizza night! It’s more than just a meal at our house; it’s a whole event! For years, our family has gathered ’round for pizza nights, and let me tell you, this recipe is the reason why everyone keeps asking for more. It’s the perfect blend of easy-to-handle dough and classic Margherita flavors, proving that amazing pizza can totally be a homemade affair. We’re talking about Why Everyone Loves This Pizza Night Recipes (+ Make-Ahead Tips), and trust me, it’s a game-changer for busy weeknights and relaxed weekends alike. I’ve tweaked this over the years, and it never fails to bring smiles! Check out some other great pizza ideas too!
Why Everyone Loves This Pizza Night Recipes
Seriously, this pizza recipe is pure magic for family nights! It’s the kind of meal that just brings everyone together, no fuss, no stress. What makes it a total winner is how surprisingly simple it is to whip up something this delicious. You get that incredible homemade taste without spending hours in the kitchen, which is a lifesaver these days. It’s all about creating those happy, fun memories around the table, and fantastic pizza is definitely the star! Plus, it’s adaptable, so everyone can get involved. You can find more awesome recipes here if you’re feeling adventurous!
Here’s why it’s our go-to:
- It’s hands-on fun for everyone: From kneading the dough to picking your own toppings, it’s an activity as much as a meal.
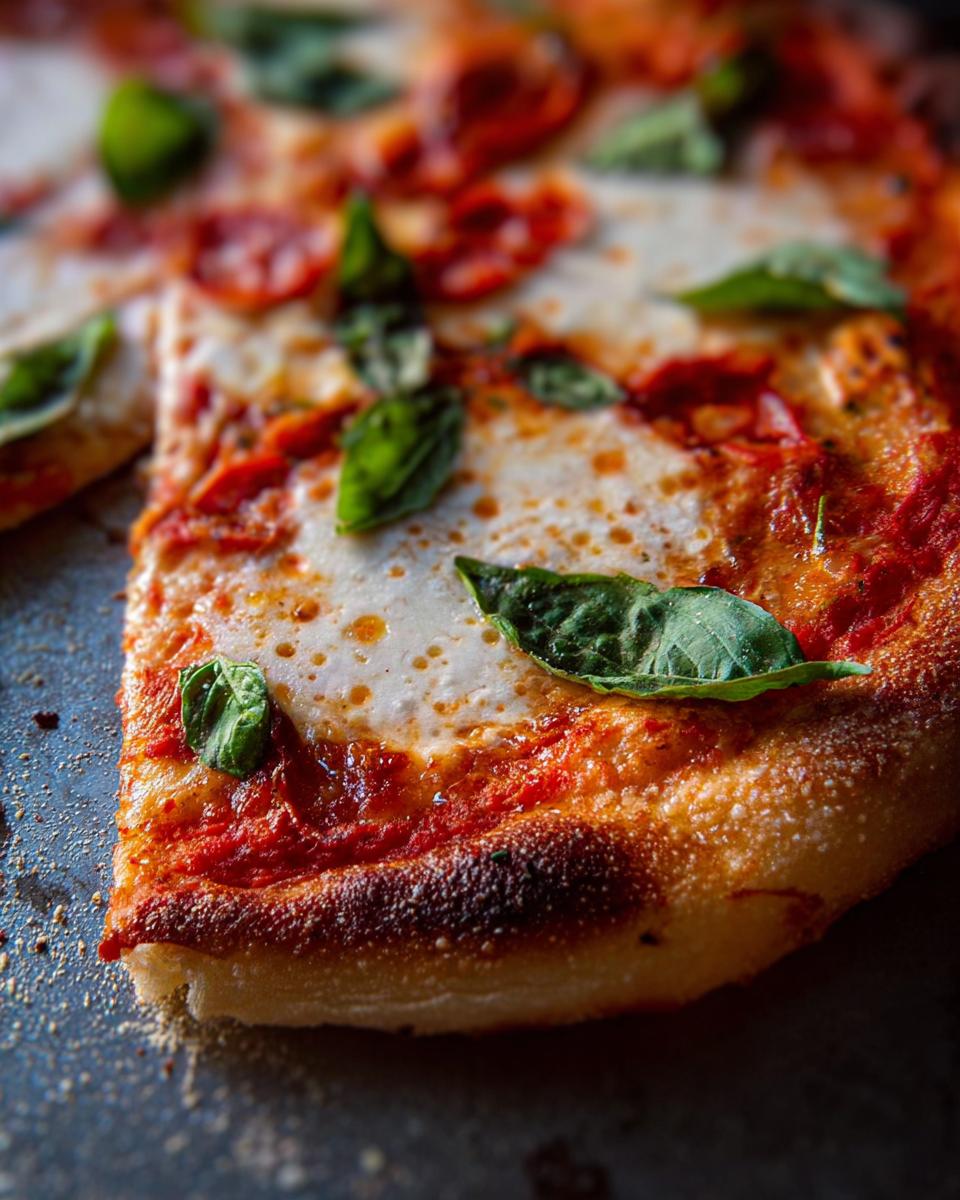
- Incredible flavour without the fuss: We’re talking that perfect balance of chewy crust, tangy sauce, and melty cheese.
- Seriously satisfying: It just hits the spot every single time.
Effortless Dough Creation
Honestly, making the dough is the easiest part, and that’s a huge part of why I love this recipe so much. You just mix a few basic things, knead it a bit – which is actually kind of therapeutic! – and let it do its thing. It’s so forgiving. Don’t worry if your knead isn’t super smooth; the yeast does most of the heavy lifting. A little tip I’ve learned is to make sure your yeast is fresh; it really makes a difference in getting that lovely, airy texture without breaking a sweat. It’s beginner-friendly, for sure!
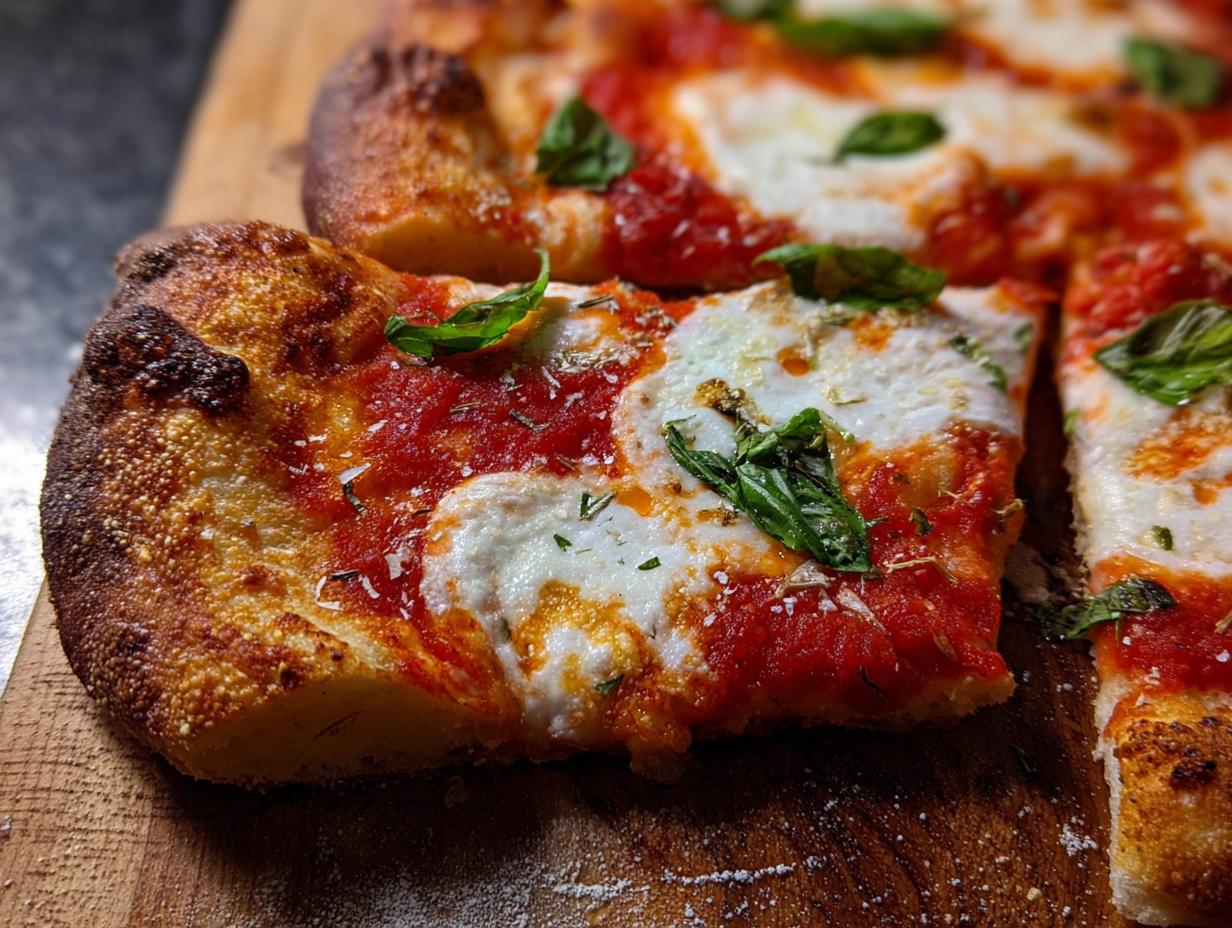
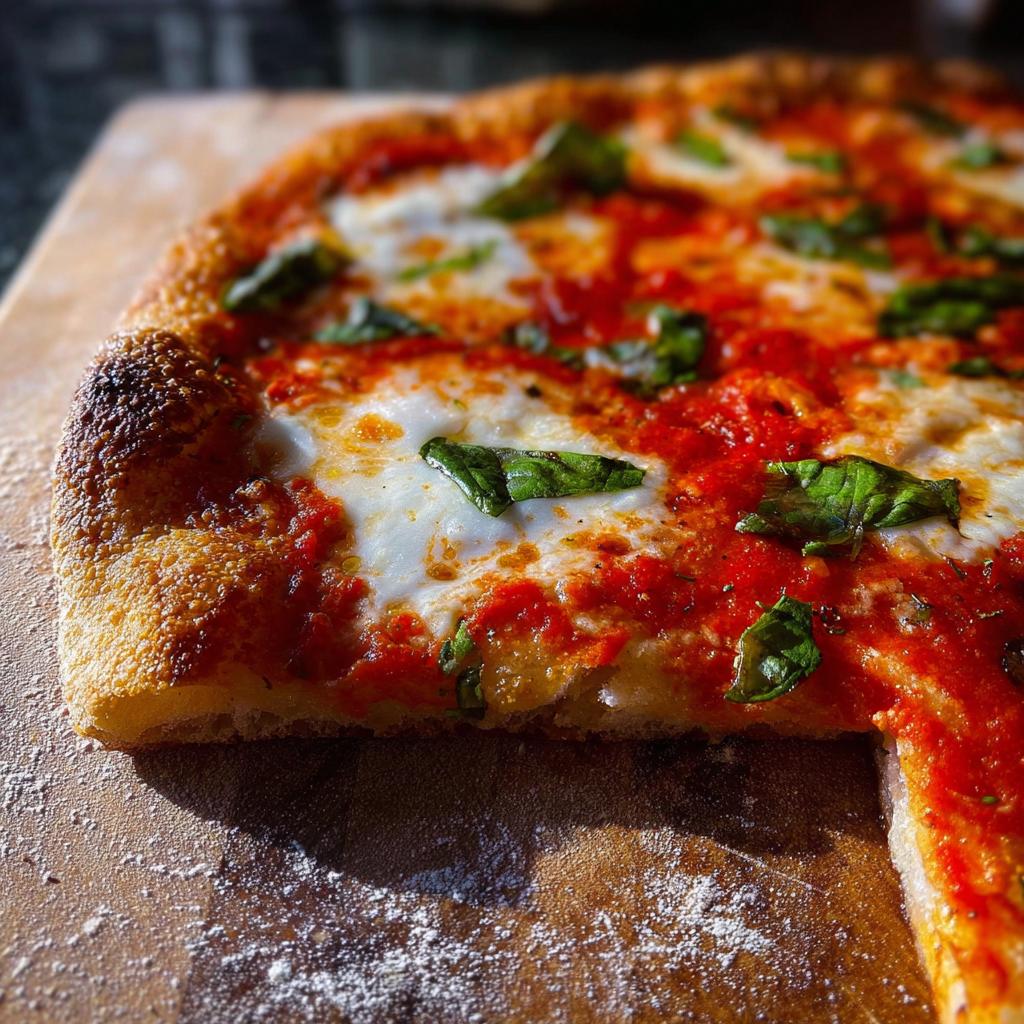
Classic Margherita Perfection
You can’t go wrong with a Margherita! It’s the queen of pizzas for a reason. We’re talking simplicity at its finest: sweet, crushed Italian tomatoes, a drizzle of good olive oil, a sprinkle of salt, and that glorious, fresh mozzarella that melts into creamy pools. Adding a few fresh basil leaves right at the end just sends it over the top with that amazing aroma. It’s all about letting those quality ingredients shine, and it works beautifully every single time. It feels so authentic and delicious!
Ingredients for Your Pizza Night Recipes
Okay, let’s get down to the good stuff! To make our amazing pizza, you’ll need a few key things. Having them all prepped makes pizza night totally stress-free. Trust me on this!
For the Dough:
- 500 grams all-purpose flour, plus a little extra for shaping
- 1 gram active dry yeast (that’s about 1/4 teaspoon), make sure it’s fresh!
- 16 grams fine sea salt (around 2 teaspoons)
- 350 grams water (about 1 1/2 cups), lukewarm, not too hot!
For Assembling and Baking the Margherita Pie:
- 4 balls of our lovely pizza dough (from above, of course!)
- 1 (28-ounce can) of peeled Italian tomatoes – or if you’ve got super fresh Roma tomatoes, even better!
- 2 tablespoons extra-virgin olive oil, good quality for flavour
- 1 teaspoon fine sea salt
- 2 pounds fresh mozzarella cheese, just torn into big chunks, no fancy slicing needed!
- 20 fresh basil leaves, or just as many as make you happy!
- 3/4 cup Parmigiano-Reggiano cheese, finely grated
How to Prepare Your Pizza Night Recipes
Alright, let’s get this pizza party started! Making your own pizza is like a little culinary adventure, and these steps will guide you right to pizza perfection. This is where the magic happens, turning simple ingredients into something truly spectacular for your pizza night. Don’t worry if things look a little messy; that’s part of the fun! If you’re curious about other easy recipes, check out how to make some delicious gluten-free popcorn!
Step 1: Making the Pizza Dough
First things first, let’s get that amazing dough going. In a big bowl, dump in your flour, yeast, and salt. Gradually pour in the water and just mix it all up until it forms this shaggy, rustic-looking dough. Now, turn it out onto a lightly floured surface and knead it for about 10-15 minutes. You want it to feel smooth and elastic, like a nice, soft pillow. Pop it into a lightly oiled bowl, cover it with a tea towel, and let it chill and puff up for at least 2 hours. It should pretty much double in size. Don’t rush this part; the waiting is worth it!
Step 2: Preparing for Baking
While your dough is doing its thing, crank up your oven to its VERY highest setting. Seriously, as hot as it will go! If you have a pizza stone or steel, slide it in there now to get superheated. For the tomatoes, whether you’re using canned or fresh, just give them a good crush with your hands or a fork right in a bowl. Stir in that lovely olive oil and a pinch of salt. This simple sauce is key!
Step 3: Assembling Your Pizza
Once your dough has had its glorious rise, gently punch it down. Divide it into four equal pieces. Now, on that floured surface, shape each piece into a round pizza base. I like to use my fingertips to gently press outwards from the center. Carefully transfer your dough rounds onto a pizza peel or a piece of parchment paper. Spread a thin, even layer of your crushed tomato sauce over each one, leaving a little space around the edge for that perfect crispy crust. Then, scatter those glorious torn chunks of fresh mozzarella all over. A few basil leaves on top are a must!
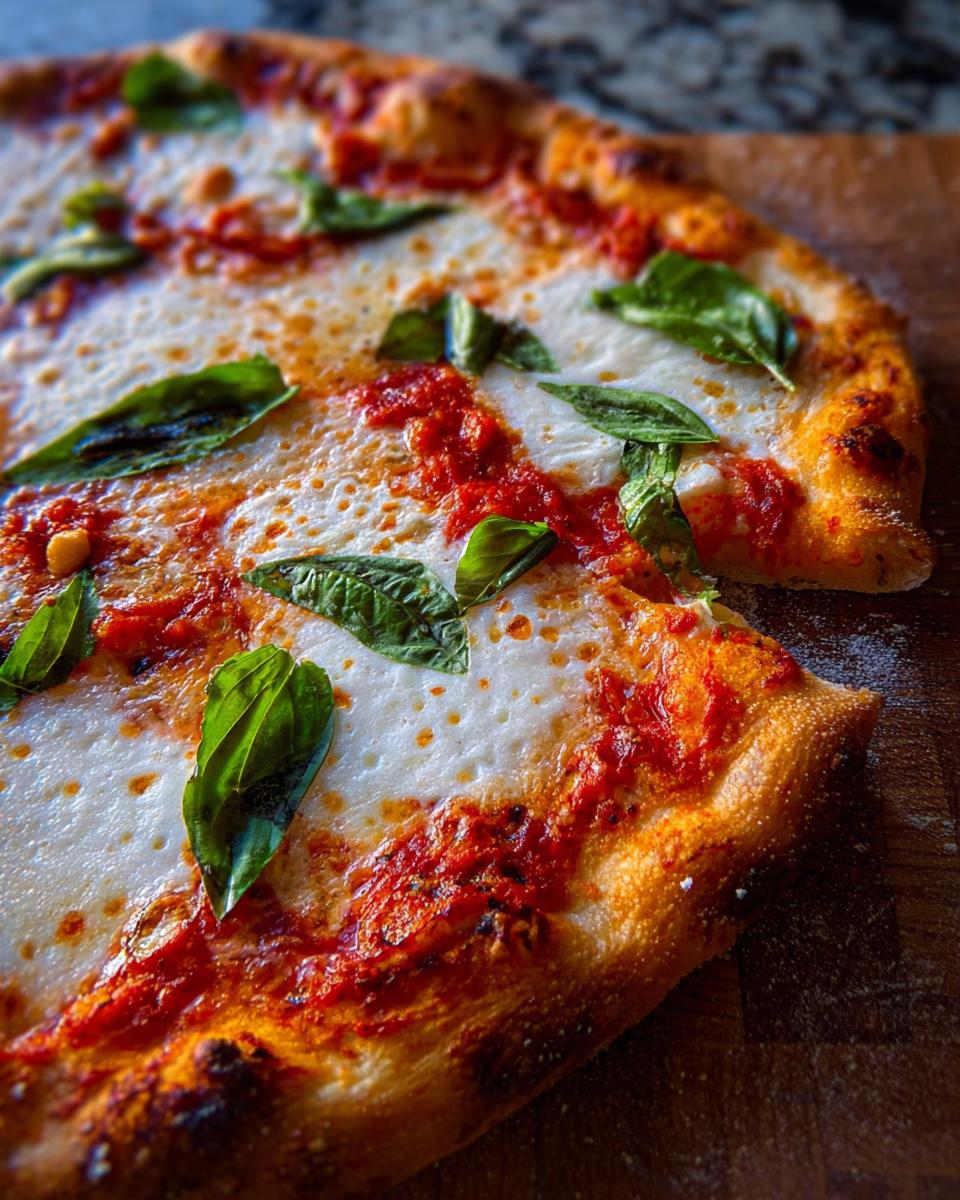
Step 4: Baking to Perfection
Time for the grand finale! Carefully slide your pizzas onto that screaming-hot pizza stone or a baking sheet. You’re going to bake them for about 8-12 minutes. Keep an eye on them! You’re looking for a crust that’s beautifully golden brown and those amazing cheese pockets that are bubbly and maybe even getting a little kissed by the heat. It happens fast, so don’t wander off!

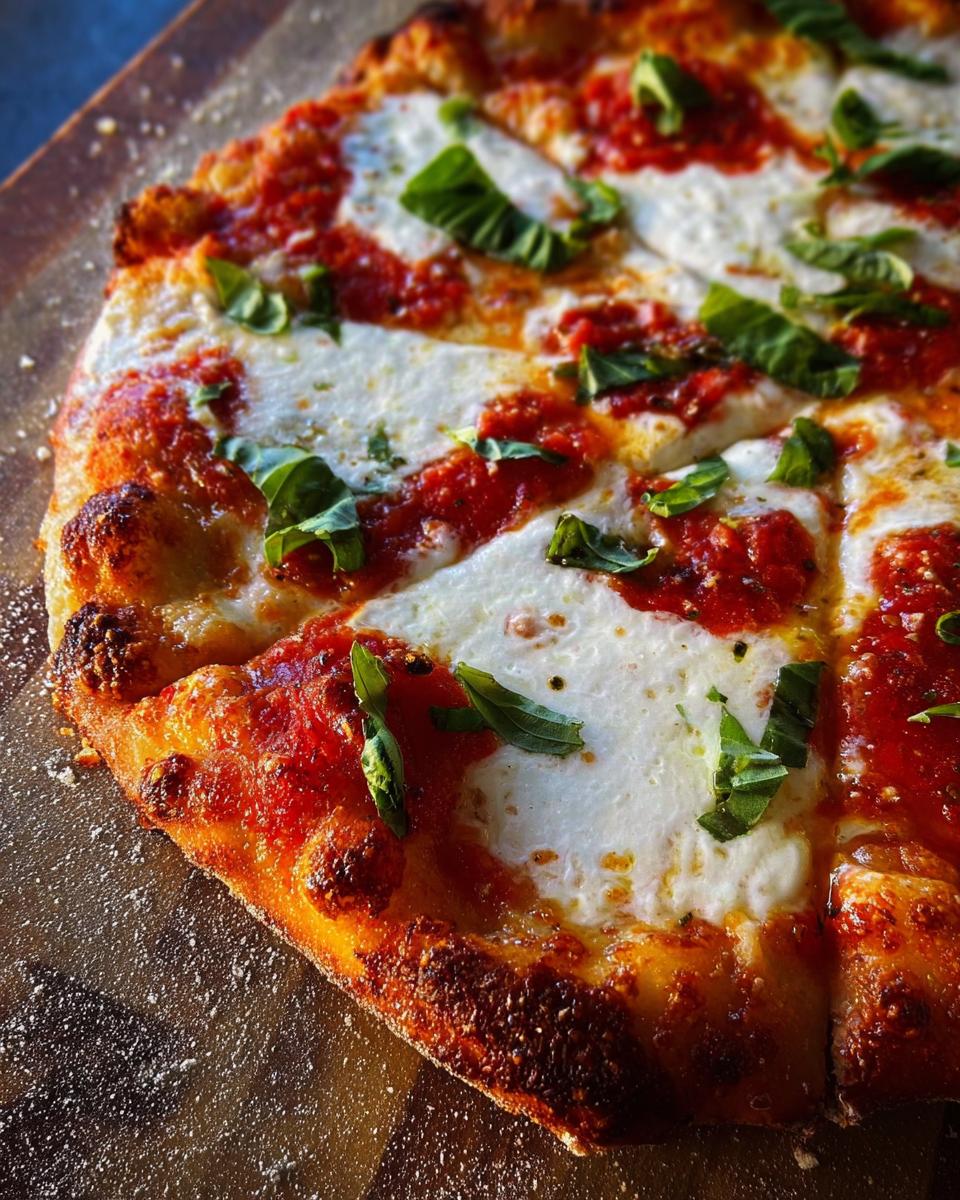
Step 5: Finishing Touches
As soon as they come out of the oven, looking all glorious and bubbly, give them a final flourish. Sprinkle generously with that finely grated Parmigiano-Reggiano cheese and scatter a few more fresh basil leaves over the top. Slice it up while it’s piping hot and dive in!
Make-Ahead Tips for Stress-Free Pizza Night Recipes
Honestly, the best part about this pizza recipe is how perfectly it fits into a busy life. You can totally get ahead of the game so that actual pizza night is just pure relaxation and fun, not a frantic dash in the kitchen. I’ve been doing this for years, and it makes all the difference. It’s like having a little cheat sheet for a perfect evening! For some other great make-ahead ideas, check out these energy bites – they’re lifesavers!
Dough Storage and Revival
So, here’s the secret weapon: you can make the dough a full day ahead! After that first initial rise, just pop it into a lightly oiled container, cover it tightly, and tuck it into the fridge. It’ll keep perfectly for up to 24 hours. When you’re ready for pizza night, just pull it out about an hour before you plan to shape it. It needs a little time to come back to room temperature and become super pliable again. It’s like magic – delicious dough ready when you are!
Prepping Toppings Ahead
Don’t forget about your toppings! You can totally prep them the day before too. Crush your tomatoes and mix them with the olive oil and salt, then store them in a lidded container. Grate your cheese and keep it in a baggie in the fridge. Even chopping up any extra veggies you might want to add can be done in advance. It cuts down on so much last-minute fuss, leaving you more time to actually enjoy the pizza-making process with your family. So easy!
Essential Equipment for Your Pizza Night Recipes
To make this pizza night absolutely perfect, you’ll want a few trusty tools in your kitchen. Having these ready makes the whole process smooth sailing:
- Large bowl: For mixing and letting that gorgeous dough rise.
- Baking sheet: Your trusty base if you don’t have a stone.
- Pizza stone or steel (optional): If you have one, use it! It’s a game-changer for that crispy crust.
Frequently Asked Questions About Pizza Night Recipes
Got questions about making pizza night extra special? I’ve got you covered! We love making this recipe for family gatherings and these are the things folks ask most.
Can I freeze the pizza dough?
You absolutely can freeze the dough! After you’ve let it do its first rise, punch it down, divide it into portions, and wrap each piece tightly in plastic wrap. You can keep it in the freezer for about a month. Just thaw it overnight in the fridge before using.
What if I don’t have a pizza stone?
No worries at all! A pizza stone or steel just helps get that super crispy crust, but you can totally get great results with a regular baking sheet. Just preheat the baking sheet in the oven while it’s heating up, then carefully slide your pizza onto the hot sheet. It still works wonders for a fun family pizza night!
How can I make this recipe gluten-free?
Making this gluten-free is totally doable! You’ll want to use a good quality gluten-free all-purpose flour blend that has xanthan gum in it. You might need to adjust the water slightly, as gluten-free flours can be a bit thirsty. Just aim for a dough that’s easy to handle, similar to the regular one. For more great gluten-free ideas, check out our about page!
Storing and Reheating Your Pizza
So, the pizza night was a HUGE success, but maybe you have a slice or two left over? Don’t you worry! Leftover pizza is truly a gift, and knowing how to store and reheat it properly means you can enjoy that deliciousness all over again. For me, it’s all about keeping that crust nice and crisp and the cheese melty. You know, like the first slice! For more fantastic meal ideas, check out my hearty beef stew – it’s perfect for cozy nights too.
To store, let the pizza cool completely first. Then, wrap individual slices tightly in plastic wrap or foil, or stack them in an airtight container with parchment paper in between. It’ll keep in the fridge for about 2-3 days. When it’s time to reheat, skip the microwave if you can – it makes the crust soggy. Your best bet is to pop a slice or two back in a hot oven (around 375°F or 190°C) on a baking sheet for about 5-8 minutes until the cheese is bubbly and the crust is crispy again. It’s totally worth the few extra minutes!
Share Your Pizza Night!
I really hope you give this pizza recipe a try for your next pizza night! Let me know what you think in the comments below. I’d absolutely LOVE to hear about your experience and see your amazing creations – share your photos with me on social media! It always makes my day to see your pizza-making adventures. For any questions, feel free to get in touch!
Pizza Night Recipes
Ingredients
Equipment
Method
- For the dough: In a large bowl, combine flour, yeast, and salt. Gradually add water and mix until a shaggy dough forms. Knead on a lightly floured surface for 10-15 minutes until smooth and elastic. Place in a lightly oiled bowl, cover, and let rest at room temperature for 2 hours, or until doubled in size. For make-ahead, refrigerate the dough for up to 24 hours after the initial rise.
- For the pie: Preheat your oven to its highest setting, ideally with a pizza stone or steel inside. If using canned tomatoes, crush them by hand or with a fork. Stir in the olive oil and salt.
- Divide the dough into 4 equal portions. On a lightly floured surface, shape each portion into a round pizza base. Transfer the dough to a pizza peel or parchment paper.
- Spread a thin layer of the crushed tomatoes over each dough base, leaving a small border for the crust. Distribute the torn mozzarella evenly over the sauce. Add a few basil leaves.
- Carefully slide the pizzas onto the preheated pizza stone or baking sheet. Bake for 8-12 minutes, or until the crust is golden brown and the cheese is bubbly and slightly browned.
- Remove pizzas from the oven. Sprinkle with grated Parmigiano-Reggiano cheese and fresh basil leaves. Slice and serve immediately.