There’s something magical about a pizza night, isn’t there? The smells, the anticipation, the sheer joy of everyone digging into their own perfect slice. For years, I dreamed of recreating that amazing restaurant-style pizza experience right in my kitchen for my family, and let me tell you, after lots of trials (and a few deliciously messy failures!), I’ve finally cracked the code. These Restaurant-Style Pizza Night Recipes at Home (2025) are my go-to for turning ordinary evenings into extraordinary family fun. Forget takeout menus; we’re talking real deal, crave-worthy pizza that’ll make everyone ask for seconds!
Why You’ll Love These Restaurant-Style Pizza Night Recipes at Home
Seriously, making pizza at home is way more fun than you think! Here’s why you and your family will adore this recipe for your next pizza night:
- Super Easy to Make: Even if you’re new to dough, the instructions are super clear.
- Incredible Flavor: It tastes just like your favorite pizzeria, thanks to good ingredients and the right technique.
- Guaranteed Family Fun: Kids love helping out, from mixing the dough to choosing their toppings! It’s the perfect recipe for family fun.
- Flexible Too: You can totally customize the toppings to what everyone loves.
Essential Ingredients for Your Restaurant-Style Pizza at Home
Okay, so to get that amazing restaurant-quality pizza taste right in your own kitchen, you really want to start with good ingredients. Don’t skimp here – it makes such a difference! Trust me, having the right stuff on hand makes the whole “making pizza” adventure so much smoother. Here’s what you’ll need to gather up:
For the Dough
- 1 1/4 oz. packet active dry yeast (that’s about 2 1/4 teaspoons!)
- 2 tsp. granulated sugar
- 1 1/2 cups warm water (make sure it’s between 90 and 100 degrees – too hot kills the yeast, too cold won’t activate it!)
- 4 cups all-purpose flour (for that perfect chewy crust)
- 2 Tbsp. olive oil, divided, plus a little extra for brushing
- 2 1/4 tsp. kosher salt (it just tastes better than table salt in dough!)
For the Topping
- 1/4 cup grated Parmesan cheese, divided (this adds a little salty kick!)
- 1 cup Homemade Pizza Sauce (you can use your favorite jarred sauce too, but homemade is *chef’s kiss*)
- 3 cups shredded low-moisture mozzarella cheese, divided (this is your melty, gooey base)
- 1 cup cubed fresh mozzarella cheese, divided (for those glorious pockets of milky goodness)
- Fresh basil, to serve (it just makes everything pop!)
Seriously, grabbing good quality ingredients like fresh yeast and using real olive oil totally elevates your “restaurant-style pizza.” It’s worth the little bit of extra effort!
Step-by-Step Guide to Perfect Restaurant-Style Pizza Dough
Alright, get ready to make some magic happen! Making your own pizza dough is where the real fun begins. It might seem a little intimidating, but trust me, it’s totally doable and makes all the difference for that amazing restaurant-style pizza. We’re looking for a dough that’s got a nice chew, a little crisp on the bottom, and just the right amount of airiness. That 90-minute rise time is key here – it lets all those good flavors develop and makes the dough super easy to handle later. Let’s get our hands a little floured!
Activating the Yeast and Mixing the Dough
First things first, we gotta wake up that yeast! In your stand mixer bowl, sprinkle the yeast and sugar over the warm water. Give it a little whisk and let it sit for about 5 minutes. You should see it get foamy and bubbly on top – that’s the yeast saying hello! Now, add in your flour, a tablespoon of olive oil, and the salt. Mix it all up with the dough hook on low speed until it starts to come together into a shaggy ball. Feel free to scrape down the sides of the bowl with a spatula. Then, crank the speed up just a touch to medium-low and let it go for another 2-3 minutes. We want it nice and incorporated, but it’s okay if it’s still a little sticky. That’s exactly what we’re aiming for!
First Rise: Letting the Dough Develop
Now for the patient part! Drizzle that remaining tablespoon of olive oil over the top of the dough and around the sides of the bowl. Use your spatula to just flip the dough ball around so it gets a nice coating of oil. This helps prevent it from drying out. Cover the whole bowl tightly with plastic wrap. Find a nice, warm spot for it and let it rise for about an hour and a half, or until it’s basically doubled in size. This long rise is what gives our restaurant-style pizza its fantastic texture and flavor development. Don’t rush this step!
Shaping and Proofing the Dough Balls
Once that dough has risen beautifully, it’s time to shape it up! Gently punch it down to release some of the air. Then, turn it out onto a lightly floured surface. You’ll want to cut this into 2 or 4 equal pieces depending on how many pizzas you want to make. To make those perfect rounds, flatten each piece into a circle and then fold all the edges into the center. Flip it over so the seam is on the bottom and gently pull the ball against the counter. This creates a nice, taut ball that’s much easier to stretch later. Place these dough balls on a lightly floured baking sheet, leaving plenty of space between them. Visit our site for more dough tips! If you’re not using them right away, cover them well with plastic wrap and pop them in the fridge for up to 2 days. When you’re ready to make pizza, just take them out about 30 minutes beforehand to let them come back to room temperature. This makes stretching them a breeze and helps ensure a great crust for your restaurant-style pizza.
Assembling Your Restaurant-Style Pizza Night Creations
Okay, dough is ready, oven is screaming hot – it’s pizza assembly time! This is where things get really fun, and honestly, where you start seeing that beautiful restaurant-style pizza magic happen. You want to work pretty quickly here so the dough doesn’t get sticky and tough. Grab your foil-lined baking sheet – this is your secret weapon for getting the pizza into the oven without a disaster. Think of it like your personal pizza peel! Check out more recipes at our site.
Stretching the Dough for the Perfect Base
On a surface that’s got a good dusting of flour, take one of your dough balls. Gently press it down into an 8-inch round, making sure to leave a little ridge around the edge – that’s gonna be our crust! Now, carefully lift the dough with your hands cupping the edge. As you rotate it clockwise, gravity will help stretch it out. Keep working it until you’ve got a lovely 12-inch circle. You want it thin in the middle but with that slightly thicker edge. Pop this onto your prepared foil-lined pan. We’re building the dream pizza!
Layering on the Flavor: Sauce and Cheese
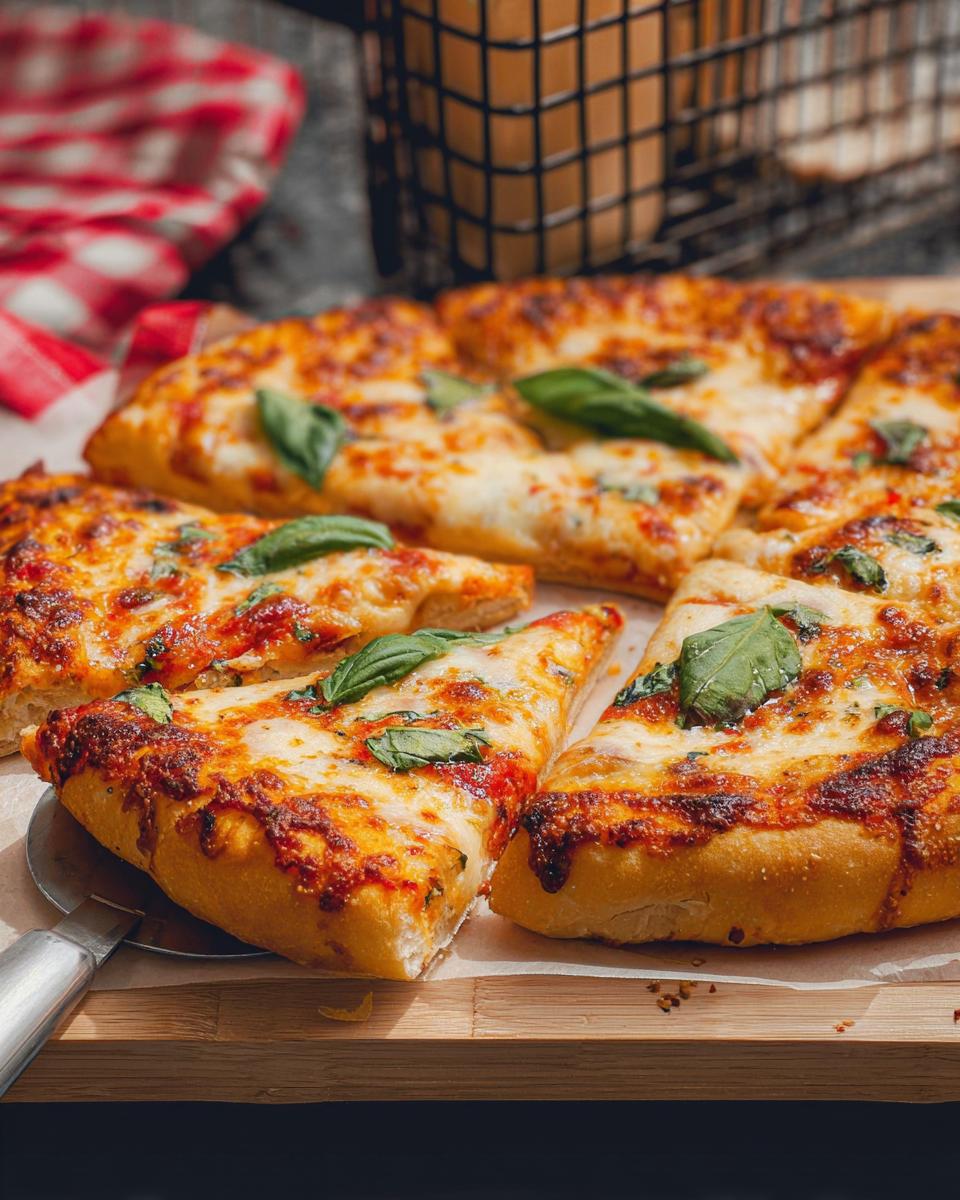
Now for the best part – toppings! Sprinkle about 2 tablespoons of that grated Parmesan cheese all over the surface. Then, spread a generous half cup of your pizza sauce, leaving a little border for that crust. Next, pile on about 1 1/2 cups of the shredded low-moisture mozzarella, followed by about 1/2 cup of the cubed fresh mozzarella. This combo gives you the perfect melty coverage and those glorious creamy pockets of fresh mozzarella that really scream “restaurant-style pizza.” So good!
Baking Your Homemade Restaurant-Style Pizza to Perfection
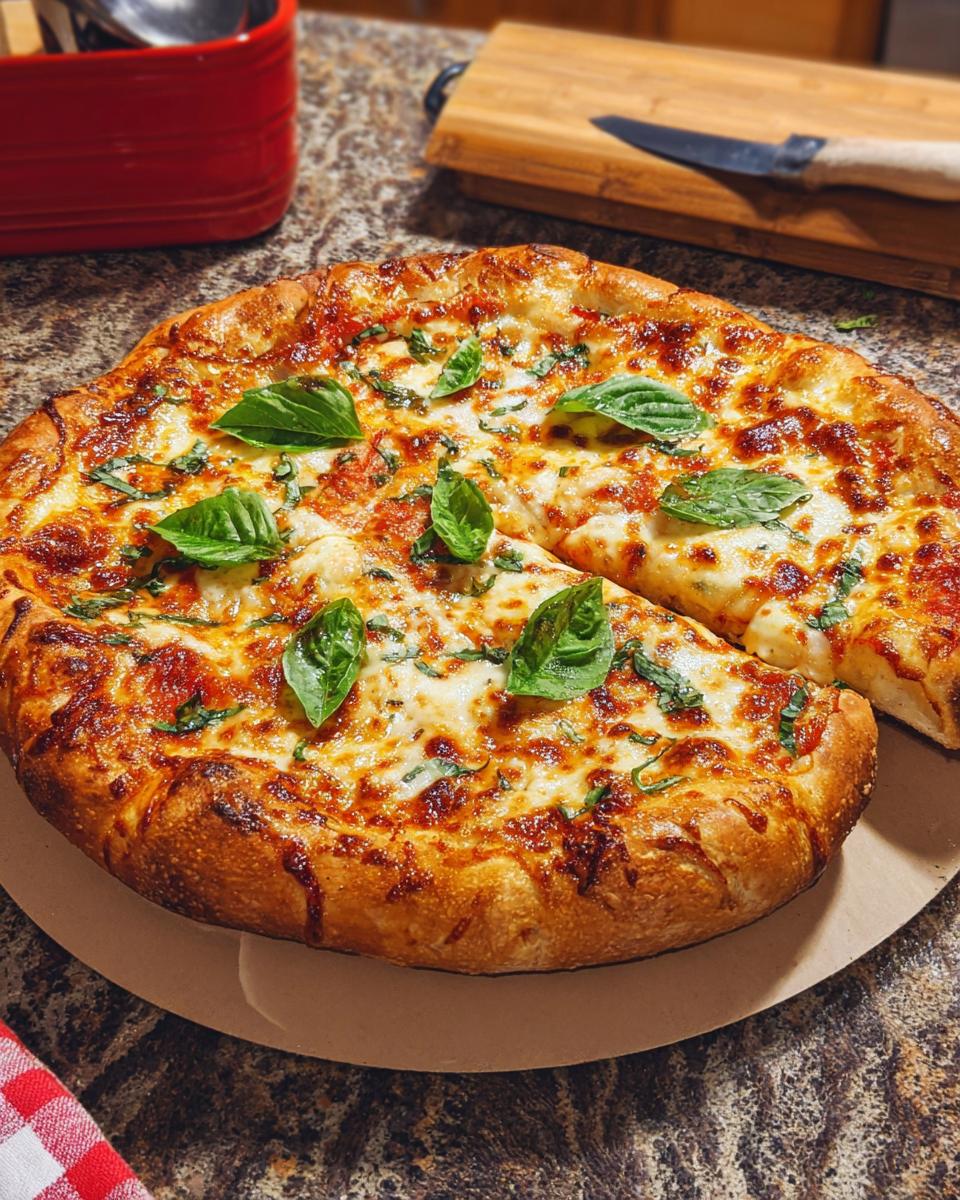
Okay, this is it – the moment of truth! Getting that perfect crust on your homemade restaurant-style pizza is all about a screaming hot oven and a little bit of patience. We want that crust to be golden brown and bubbly, with that satisfying crispiness you get at your favorite pizza place. Don’t worry, this part is easier than it sounds, and the result is totally worth it for your amazing family pizza night!
Preheating the Oven and Pizza Stone
First things first, crank that oven up to 500°F (that’s pretty hot, I know!). You absolutely MUST preheat your oven with your pizza stone, steel, or even just an upside-down heavy baking sheet on the top rack for at least an hour. This ensures your pizza cooks from the bottom up, giving you that crucial crispy crust that makes restaurant-style pizza so divine. It’s seriously the most important step for getting that authentic texture.
The Bake: Achieving Golden Brown Perfection
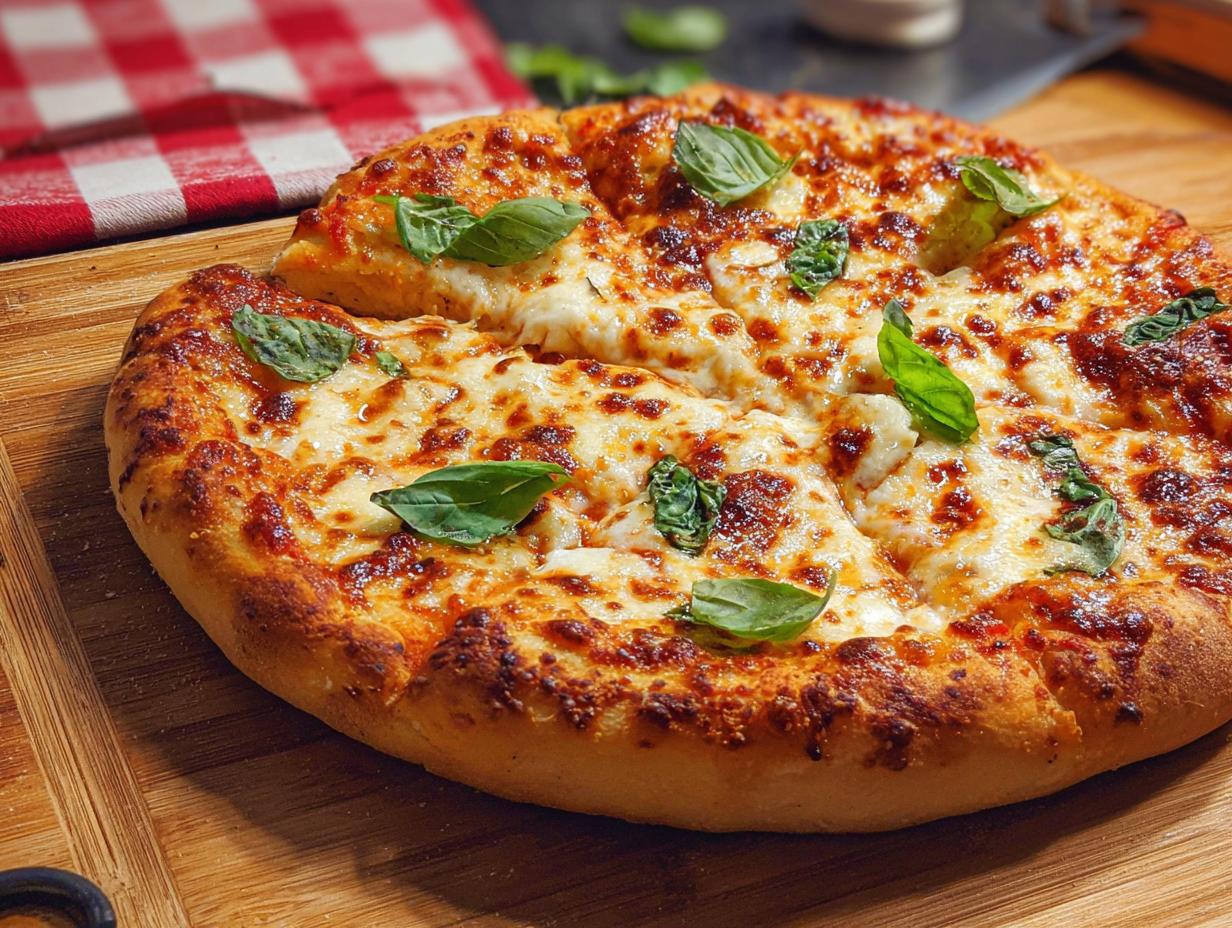
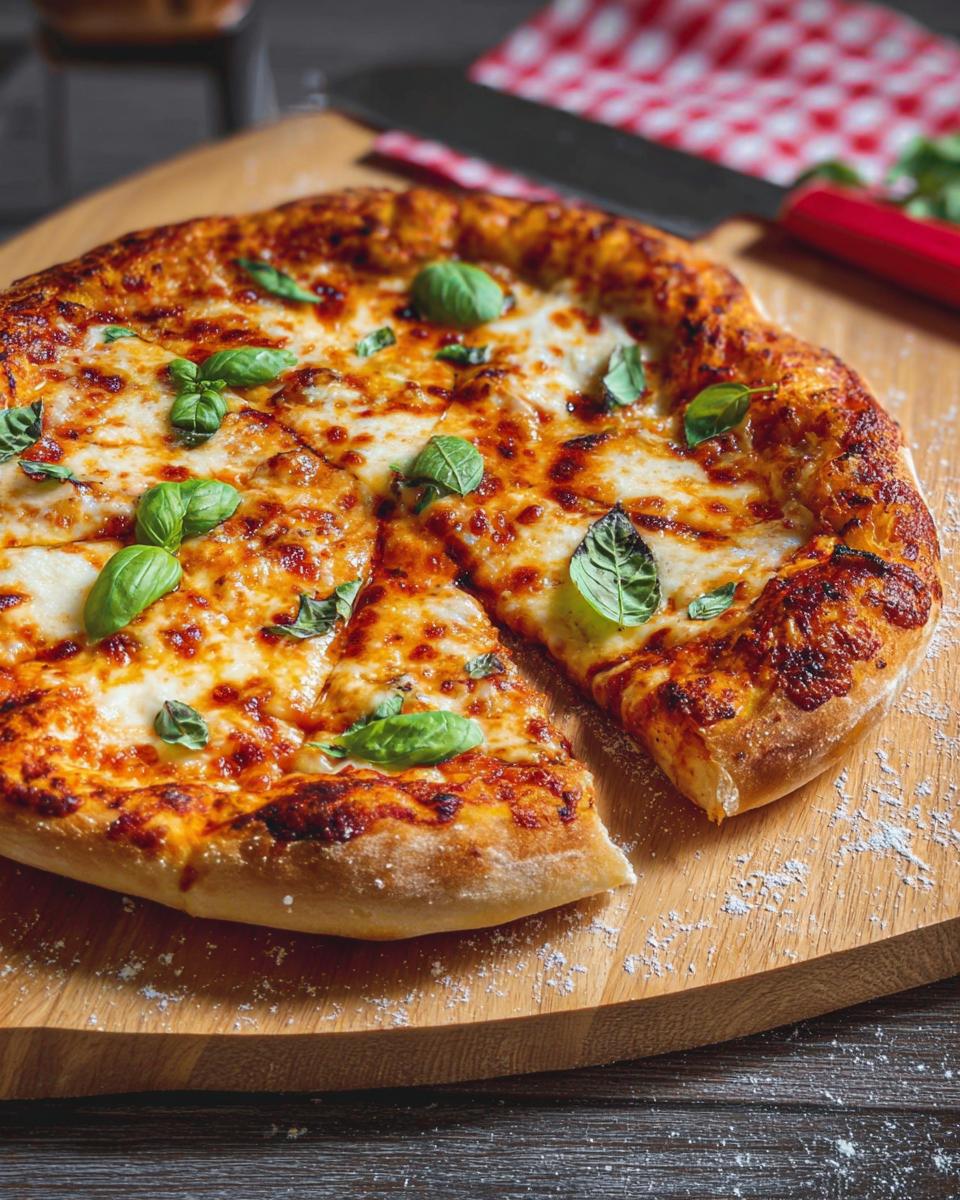
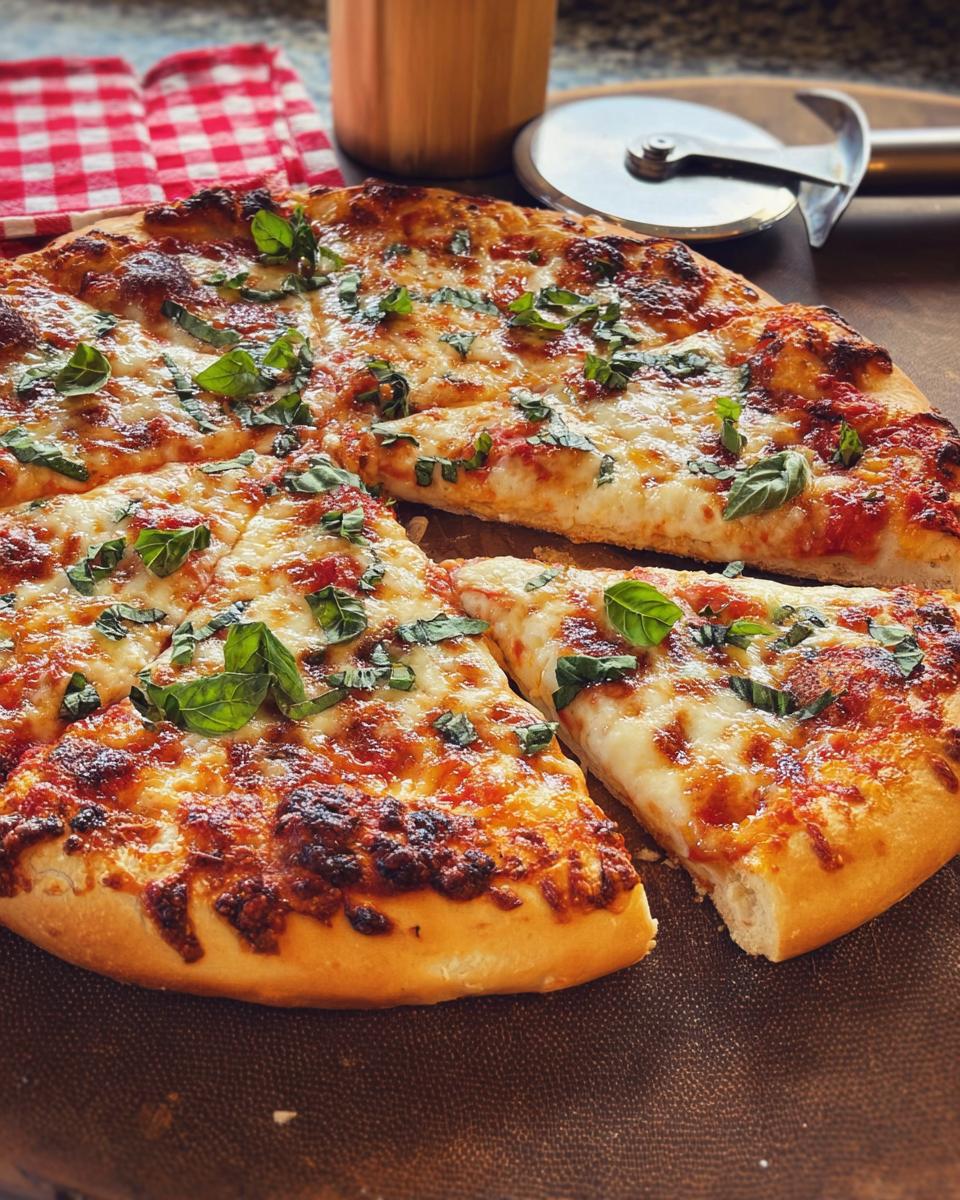
Now for the transfer! Carefully slide your foil-topped pizza onto that super hot stone or sheet. Bake it for about 12 to 14 minutes. You’ll know it’s ready when the crust is beautifully browned and the cheese is melted, bubbly, and maybe even has a few little golden spots. To get it out, use that upside-down baking sheet as a peel again and carefully slide the pizza onto a cooling rack. Don’t skip the rack – it prevents the bottom from getting soggy! Brush the crust with a little olive oil (yum!), scatter on some fresh basil leaves, and serve it up hot. Grab another recipe from our site for your next pizza adventure!
Tips for a Memorable Pizza Night
Okay, so you’ve got the amazing homemade restaurant-style pizza dough, you’ve got the toppings ready to go… but how do you make the *whole* pizza night an event? It’s all about the little touches that make it extra special for the family! Seriously, these tips will take your pizza night from good to absolutely legendary, packed with family fun.
My favorite trick? Set up a “topping bar”! Put out bowls of all your goodies – sliced pepperoni, mushrooms, bell peppers, olives, extra cheese, maybe even some pineapple for the brave ones! Let everyone build their own pizza. It’s chaos, but the best kind of chaos, and the kids absolutely love getting creative. It’s where the real family fun happens. Also, don’t be afraid to crank up some music! Make it a whole experience. You can find more inspiration on how we bring families together at our site.
Frequently Asked Questions About Restaurant-Style Pizza at Home
Making restaurant-style pizza at home is totally achievable, but I get that you might have a few burning questions! You can always reach out on our contact page if you don’t see your question here. We’ve rounded up some of the most common ones to help make your pizza night a smashing success.
Can I make the pizza dough ahead of time?
Absolutely! One of the best parts about this recipe is its flexibility. You can totally make the dough balls a day or two in advance. Just cover them well and pop them in the fridge. When you’re ready to get this pizza night rolling, pull them out about 30 minutes before you plan to shape them so they relax a bit and are easier to work with. This is a lifesaver for busy weeknights!
What if I don’t have a pizza stone?
No pizza stone? No problem! Seriously, don’t let that stop you. The recipe mentions using the back of a heavy-duty baking sheet preheated in the oven, and that works beautifully. Some folks even use a cast-iron skillet or just a regular thick baking sheet. The key is getting that pan nice and hot in the oven *before* you add your pizza. It helps create that wonderfully crisp crust we’re all after for our restaurant-style pizza.
How can I make my pizza crust crispier?
Ah, the crispy crust quest! For starters, make sure your oven and your pizza stone (or baking sheet) are *super* hot – preheating is crucial! Also, try to stretch your dough fairly thin in the center, leaving a slightly thicker edge for the crust. Don’t overload your pizza with too many wet toppings, as they can steam the crust. And finally, make sure that oven temperature is really at 500°F or even a little higher if your oven allows. That intense heat is essential for achieving that perfect crisp and chew on your restaurant-style pizza.
Can I use different sauces or cheeses?
One of the most fun parts of pizza night is customization! While the recipe calls for a specific sauce and cheese combo for that classic restaurant-style pizza vibe, feel free to experiment. Pesto, a garlic-olive oil base, BBQ sauce – they all work! And cheese? Go wild! Provolone, cheddar, feta… just make sure you’ve got a good melty cheese like mozzarella as your foundation. The combinations are endless and make every pizza night unique!
Estimated Nutritional Information
Now, keep in mind these numbers are just estimates because, let’s be honest, who measures *exactly* when making pizza? This is based on about 4 servings (or one whole pizza and some change, if you’re me!). You’re looking at roughly 600-700 calories, around 25-30g of fat, 25-30g of protein, and about 60-70g of carbs per serving. Your actual totals will vary based on your specific ingredients and how much you pile on!
Share Your Restaurant-Style Pizza Night Creations!
Alright, pizzaiolos! I’ve spilled all my secrets for making amazing restaurant-style pizza at home, but now it’s YOUR turn! Did you try this recipe? I’d absolutely LOVE to see your creations! Drop a comment below with a picture of your pizza, tell me what toppings you used, or rate this recipe. And if you have any killer pizza night tips, share them with the community! Don’t forget to sign up for our newsletter at our site for more family-friendly recipes!

Restaurant-Style Pizza Night at Home
Ingredients
Equipment
Method
- Sprinkle the yeast and sugar over the warm water (90 to 100°) in the bowl of a stand mixer. Whisk to combine and then let sit until bubbles have formed on the top, about 5 minutes. Add the flour, 1 tablespoon of olive oil, and salt, and mix with the dough hook on low speed until the dough comes together, about 2 minutes. Scrape the bottoms and sides of the bowl. Increase the speed to medium-low until everything is well incorporated and the dough is sticky, 2 to 3 minutes more.
- Drizzle the top of the dough and down the sides of the bowl with the remaining 1 tablespoon of olive oil. Use a rubber spatula to flip the dough to coat in the oil. Cover the bowl with plastic wrap and let it rise until doubled, about 1 hour and 30 minutes.
- About 1 hour before you’re ready to make pizza, place a pizza stone, steel, or an upside-down baking sheet on the upper third rack of the oven. Preheat the oven to 500°.
- On a lightly floured work surface, cut the dough in half and form into tight rounds. To form a nice round, flatten the dough onto the counter in a circle and fold all the edges into the center of the circle. Flip it over and gently pull the round against the counter to form a taut ball. Place the rounds on a lightly floured baking sheet with enough space for them to rise and expand. If you’re not ready to make pizza, cover them with plastic wrap. Refrigerate the covered dough balls for up to 2 days. Remove the dough from the refrigerator and allow to sit at room temperature for 30 minutes before proceeding.
- Place a 14-inch piece of heavy-duty foil on top of an upside-down half-sheet pan. Lightly brush the foil with oil and dust with flour. While working with one round of dough, cover the other with plastic wrap.
- On a well-floured surface, press 1 piece of dough into an 8-inch round with a 1-inch outer lip. Carefully lift the dough with your hands cupping the lip to keep from flattening it. Working quickly, rotate the edge of the dough through your hands in a clockwise motion, allowing gravity to stretch the dough into a round shape. Place the dough back on the flour and stretch it into a 12-inch circle. Transfer it to the prepared foil.
- Sprinkle the surface of the pizza with 2 tablespoons of grated parmesan. Spread 1/2 cup Homemade Pizza Sauce over the parmesan, leaving a 1-inch border. Sprinkle the pizza with 1 1/2 cups of low-moisture mozzarella and 1/2 cup of cubed fresh mozzarella.
- Using the upside-down baking sheet as a pizza peel, transfer the pizza with the foil to the preheated baking stone. Bake until the crust is browned and the cheese is bubbling, 12 to 14 minutes. Transfer pizza from the foil to a cooling rack. Brush the crust with olive oil, sprinkle the surface with basil leaves, and serve hot.
- Repeat the process with the remaining dough, sauce, and cheese. Do not assemble the pizza until right before it goes into the oven.