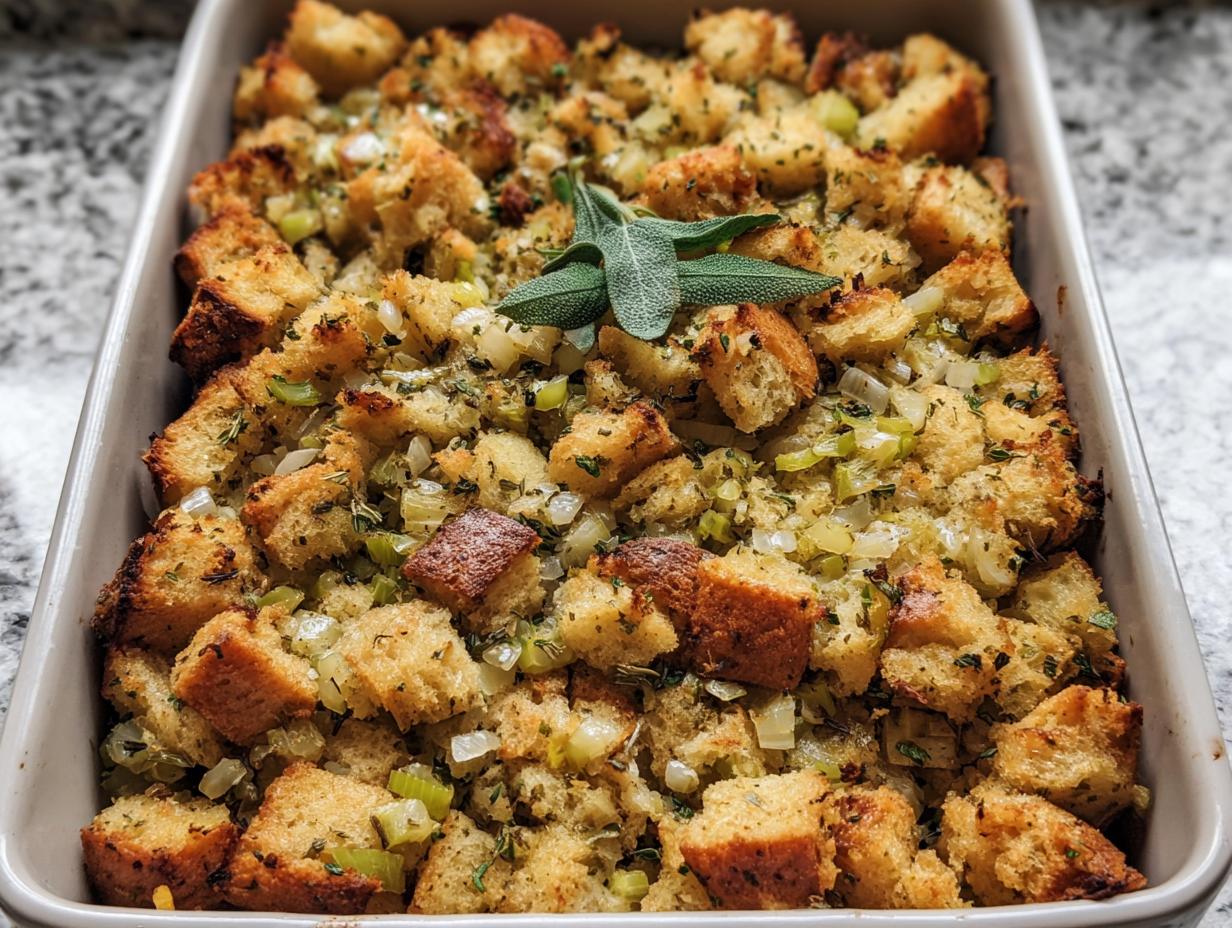
Oh, stuffing! That incredible side dish that just screams comfort, doesn’t it? For years, I thought making amazing stuffing was something you only did on Thanksgiving Day, a big production that took up your whole kitchen. But let me tell you, I’ve figured out a little secret that’s a total game-changer: Stuffing Recipes Meal Prep That Actually Tastes Great. Seriously, imagine having that warm, herby goodness ready to go without all the holiday fuss. I still remember my first Thanksgiving as a newlywed, trying to nail that perfect stuffing recipe – it was both nerve-wracking and incredibly rewarding when it was a hit! Now, with a few tricks up my sleeve, I can enjoy that same nostalgic flavor throughout the week, even when life gets crazy busy. It’s all about smart planning and a recipe that’s built for making life easier. You can learn more about my approach to delicious, convenient meals over on our About page!
Why You’ll Love These Stuffing Recipes Meal Prep That Actually Tastes Great
Honestly, this stuffing recipe is a total lifesaver for busy folks who still want all those delicious, home-cooked flavors. Here’s why you’re going to be obsessed:
- Ultimate Convenience: Prep it once, enjoy it all week! It’s perfect for those days when you need a quick, comforting side dish that tastes like it took hours.
- Unbeatable Flavor: This isn’t just stuffing; it’s *fantastic* stuffing. We’re talking fresh herbs, savory veggies, and that perfect texture. No bland meal prep here!
- Super Versatile: Make it for Thanksgiving, sure, but then use leftovers for easy weeknight dinners. It pairs with almost anything!
- Effortlessly Delicious: It’s designed to be straightforward, so even if you’re still getting the hang of meal prep, you’ll get amazing results every time.
Gather Your Ingredients for Delicious Stuffing
Alright, let’s get our hands on the goodies you’ll need to make this stuffing recipe truly sing! It’s a pretty straightforward list, but trust me, each ingredient plays a starring role.
For the Stuffing:
- About 18 to 24 ounces of bread cubes. I like to use bread that’s a little stale, or I give fresh cubes a quick toast in the oven until they’re like little croutons – use about 1.5 loaves, or roughly 12 to 14 cups worth. You do you with the cube size, from small to chunky!
- 1 cup of unsalted butter. This is where so much of that wonderful flavor comes from.
- 3 cups of diced sweet onion. That’s about two medium-sized onions, chopped up.
- 2 cups of diced celery. It adds that perfect crunch and savory note.
- 6 cloves of garlic, minced. Because garlic makes everything better, right?
- 1 teaspoon of kosher salt and 1 teaspoon of black pepper, just for cooking down those veggies.
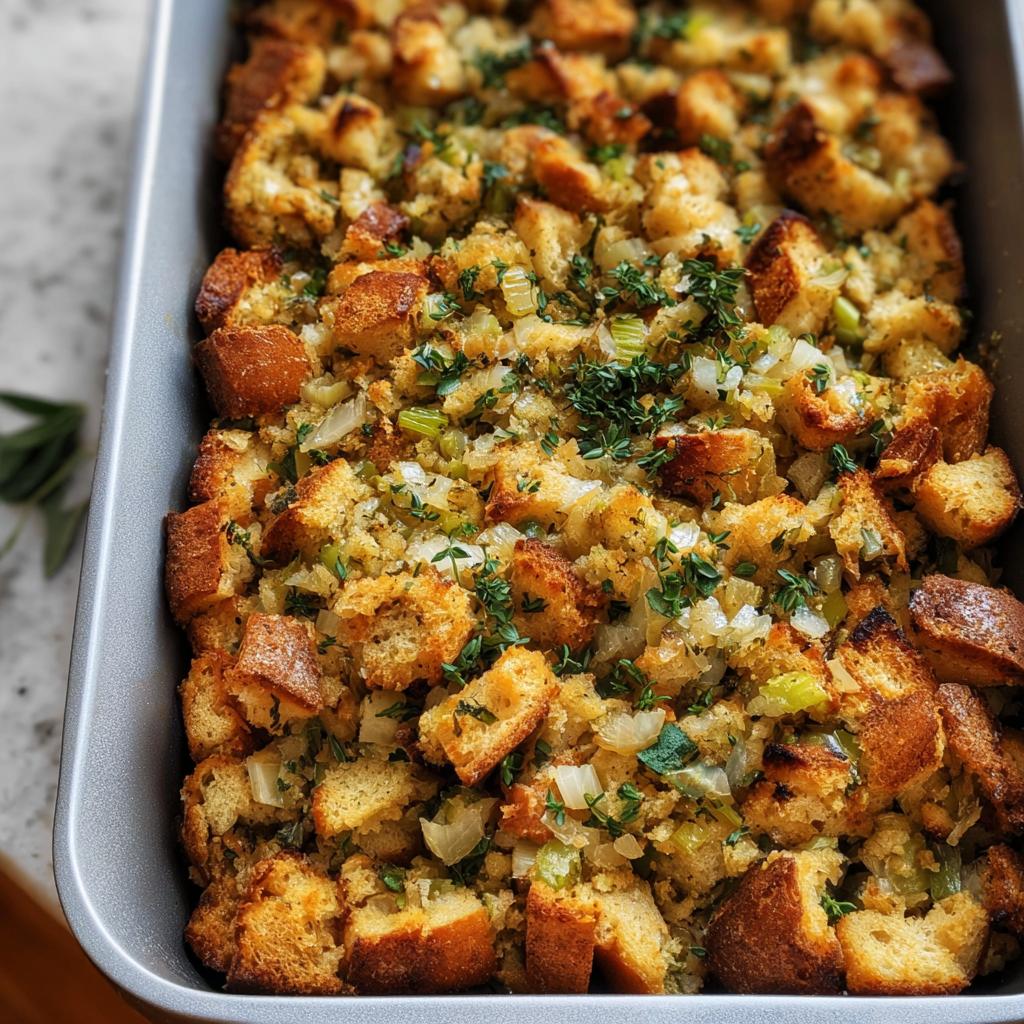
- Now for the fresh herbs – you’ll want: 3 tablespoons of chopped fresh sage, 3 tablespoons of chopped fresh parsley, and 3 tablespoons of chopped fresh rosemary. Don’t skimp here; they’re the heart of that amazing stuffing aroma!
- 2 1/2 cups of chicken or vegetable stock. Use a good quality one for the best flavor.
- 2 large eggs, whisked up.
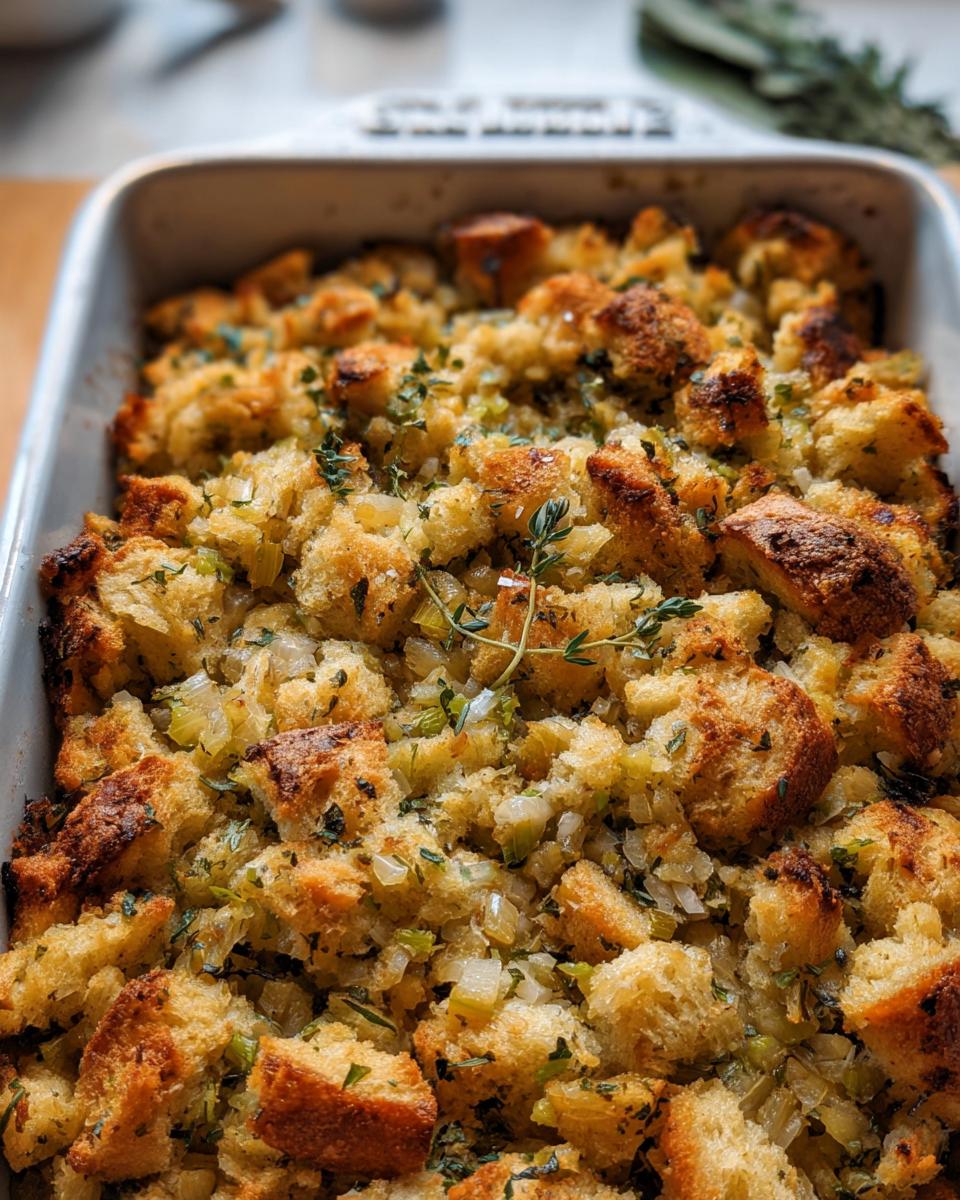
- And a little bit of fresh herbs for sprinkling right at the end to make it look extra special.
Step-by-Step Guide to Making Your Stuffing Recipes Meal Prep That Actually Tastes Great
Ready to make some magic? Following these steps is key to getting that amazing flavour and perfect texture, especially when you’re prepping ahead. This recipe makes crafting your Stuffing Recipes Meal Prep That Actually Tastes Great a breeze! You can find tons of other great recipes on our recipe page.
Preparing the Bread Cubes
First things first, let’s get those bread cubes ready. You can totally use bread that’s a day or two old – it’s perfect! If your bread is fresh from the bakery, don’t worry. Just spread the cubes out on a baking sheet and pop them in a 350°F oven for about 15 minutes until they’re nice and toasty, kind of like little croutons. This step is a must for that ideal stuffing texture!
Sautéing the Aromatics
Now, let’s build some flavor! Grab a big skillet or a Dutch oven and melt that butter over medium heat. Toss in your diced onion, celery, and minced garlic. Give them a sprinkle of salt and pepper and let them soften up beautifully, about 8 to 10 minutes. You want them tender, not mushy. Then, stir in all those gorgeous fresh herbs – sage, parsley, and rosemary – and let them bloom for just another minute until they smell incredible. Pour in about a cup of your stock and give it a good stir to get all those tasty bits off the bottom of the pan. If you’re looking for more stuffing inspo, check out this amazing recipe!

Combining and Baking Your Stuffing
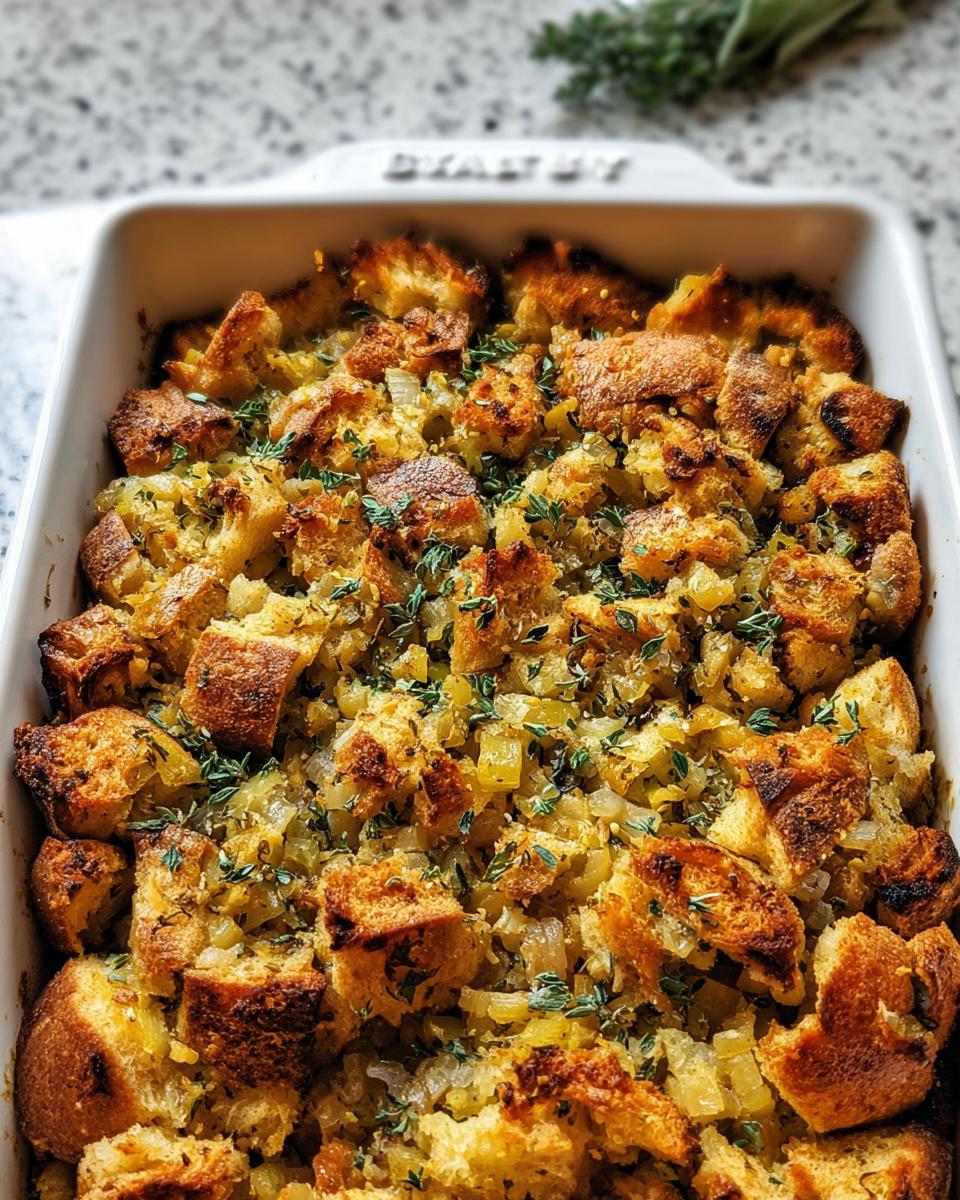
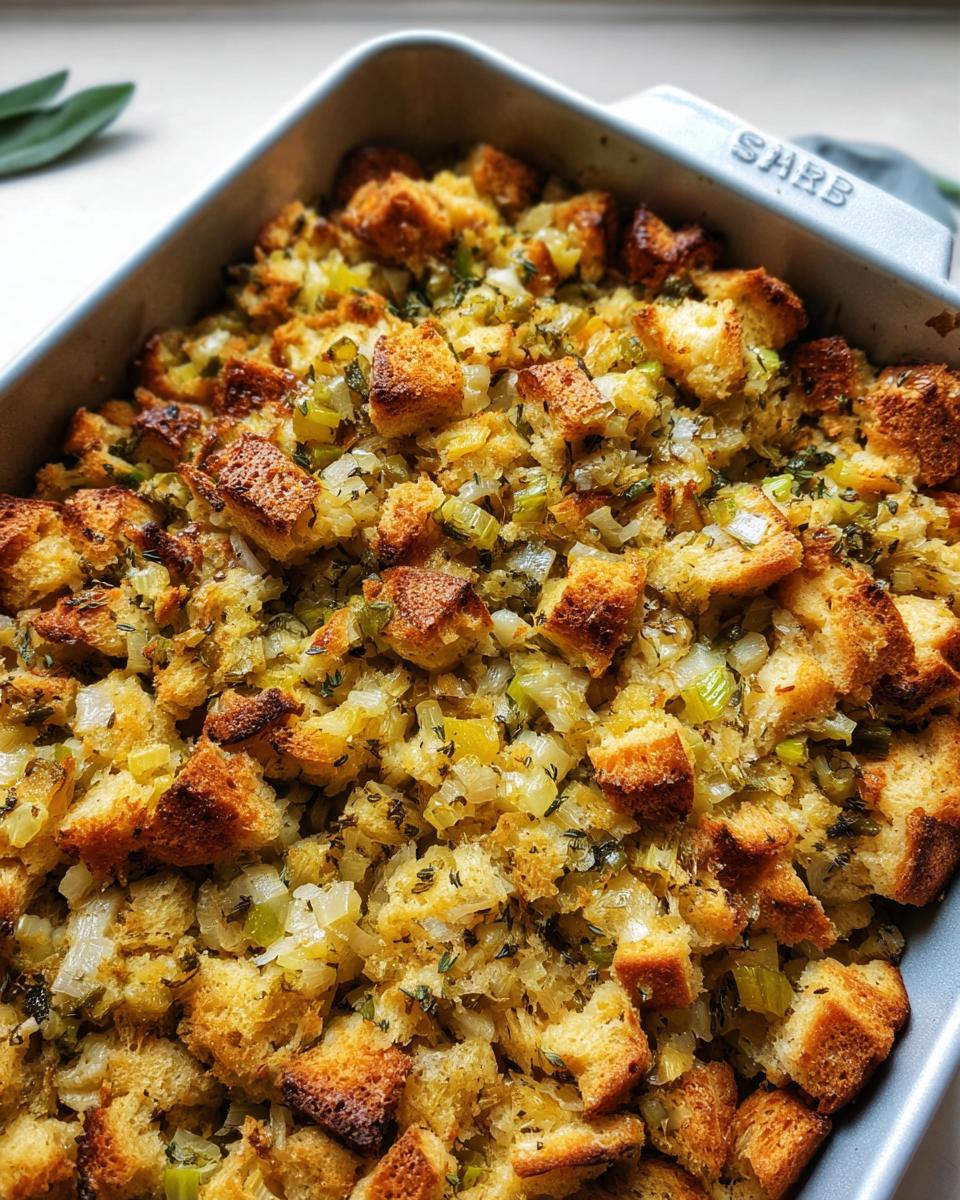
Time to bring it all together! Pour that flavorful veggie mixture right over your bread cubes in a big mixing bowl. Toss it all gently until every cube is coated. In a separate little bowl, whisk up your eggs with the rest of the stock. Pour that liquid goodness over the bread mixture and stir everything together until it’s all combined but not mushy. Transfer it to your prepared baking dish. Bake at 350°F for about 45 to 50 minutes. You’re looking for that lovely golden-brown top and an internal temperature of at least 160°F. If it starts browning a little too fast, just loosely tent it with foil. Don’t forget to let it rest for at least 60 minutes before diving in, especially if you’re prepping ahead!
Tips for Perfect Stuffing Recipes Meal Prep That Actually Tastes Great
Okay, so you want your stuffing to be absolutely perfect, even when you’re meal prepping it? Trust me, I get it! It’s totally doable. The biggest thing is making sure you use the right kind of bread – stale or toasted cubes are non-negotiable for that ideal texture that doesn’t turn into mush. This is super important for **Stuffing Recipes Meal Prep That Actually Tastes Great**, so you don’t end up with a soggy mess! Also, don’t skimp on those fresh herbs; they really make all the difference in flavor. And if you want to boost the deliciousness even further, try adding some extras like crumbled sausage, toasted nuts, or even dried cranberries when you’re mixing everything together. For more delicious ideas, check out this recipe for homemade gluten-free popcorn with herbs – similar vibe, you know?
Making Ahead and Storing Your Stuffing
The best part about this stuffing? You can totally make it ahead! Once it’s baked and delicious, let it cool completely. Then, just pop it into an airtight container or cover your baking dish tightly with plastic wrap and foil. It’ll keep beautifully in the fridge for up to two days. Remember that resting time? It’s key for flavor to meld, so even if you’re eating it right away, give it that hour. Reheating is super simple too – just pop it back in the oven until warmed through!
Equipment Needed for This Stuffing Recipe
To whip up this amazing stuffing, you won’t need anything too fancy! Just a few kitchen staples will do the trick:
- A trusty 9×13 baking dish – this is perfect for making a good-sized batch to share or have leftovers.
- A large skillet or Dutch oven; you need something big enough to sauté all those lovely veggies and melt the butter.
- A large mixing bowl for tossing everything together before it hits the oven.
Frequently Asked Questions About Stuffing Recipes
Got stuffing questions? I totally get it! Especially when you’re trying to make it work for meal prep without sacrificing that amazing taste. Here are a few things people often ask:
Can I make stuffing ahead of time?
Oh, absolutely! That’s one of the best things about this recipe – it’s practically *designed* for meal prep. You can bake it completely, let it cool down, and then store it in the fridge for a day or two. It’s still delicious when reheated, and honestly, sometimes the flavors even meld together more overnight! So go ahead and get a head start; you won’t regret it.
What kind of bread is best for stuffing?
For stuffing, you really want bread that’s a bit dry and sturdy. Stale bread is your best friend! If you only have fresh bread, just follow the instructions and toast those cubes in the oven until they’re nicely dried out, like little croutons. This is super important because it stops the stuffing from getting soggy and helps it hold its shape beautifully. Avoid super soft, squishy sandwich bread, as it tends to fall apart too easily.
How do I reheat stuffing?
Reheating is easy peasy! The best way is to pop it back into the oven. If you kept it in the baking dish, just cover it loosely with foil and warm it up at around 350°F (175°C) for about 15-20 minutes, or until it’s heated through. If you portioned it out into smaller containers, you can gently reheat it in those too, covered with foil to keep it moist. You want it nice and warm all the way through, so check the center! If you have any other questions, feel free to reach out!
Estimated Nutritional Information
Whipping up this delicious stuffing fits perfectly into a healthy lifestyle, especially with meal prep in mind. While exact numbers can wiggle around depending on your specific ingredients, you can estimate each serving to be around 400-450 calories, with approximately 20-25g of fat, 8-10g of protein, and 40-45g of carbohydrates per serving. Remember, these are just estimates designed to give you a general idea! For more healthy options, check out this gluten-free quinoa salad recipe.
Share Your Stuffing Creations!
So, have you tried making this stuffing for your meal prep? I’d just LOVE to hear about it! Drop a comment below and tell me what you thought, or even better, give it a star rating if you enjoyed it. If you shared your amazing stuffing on social media, tag us – seeing your culinary triumphs makes my day! For more great ideas delivered right to your inbox, don’t forget to sign up for our newsletter!
Stuffing Recipes Meal Prep That Actually Tastes Great
Ingredients
Equipment
Method
- Prepare your bread cubes. You can use stale bread, toast fresh bread cubes in the oven at 350 degrees F for about 15 minutes until they resemble croutons, or buy pre-toasted bread cubes. Cut cubes to your desired size, from small to rustic.
- Preheat your oven to 350 degrees F. Prepare a 9×13 baking dish by brushing it with butter or oil, or by spraying it with nonstick spray. Place the bread cubes in a large mixing bowl or the prepared baking dish.
- Melt the butter in a large skillet or Dutch oven over medium heat. Add the diced onion, celery, and minced garlic. Season with salt and pepper. Cook until the vegetables soften, about 8 to 10 minutes. Stir in the chopped sage, parsley, and rosemary, and cook for another minute. Add 1 cup of stock and stir.
- Pour the vegetable and stock mixture over the bread cubes and toss to coat evenly.
- In a small bowl, whisk together the remaining 1 1/2 cups of stock and the 2 eggs.
- Pour the egg and stock mixture over the bread cubes. Stir and fold until all the bread cubes are thoroughly combined.
- Bake for 45 to 50 minutes, or until the internal temperature reaches 160 degrees F. If the stuffing begins to brown too quickly, you can tent it with foil.
- Allow the stuffing to rest for at least 60 minutes before reheating if making ahead. This recipe can be made a day in advance and reheated.