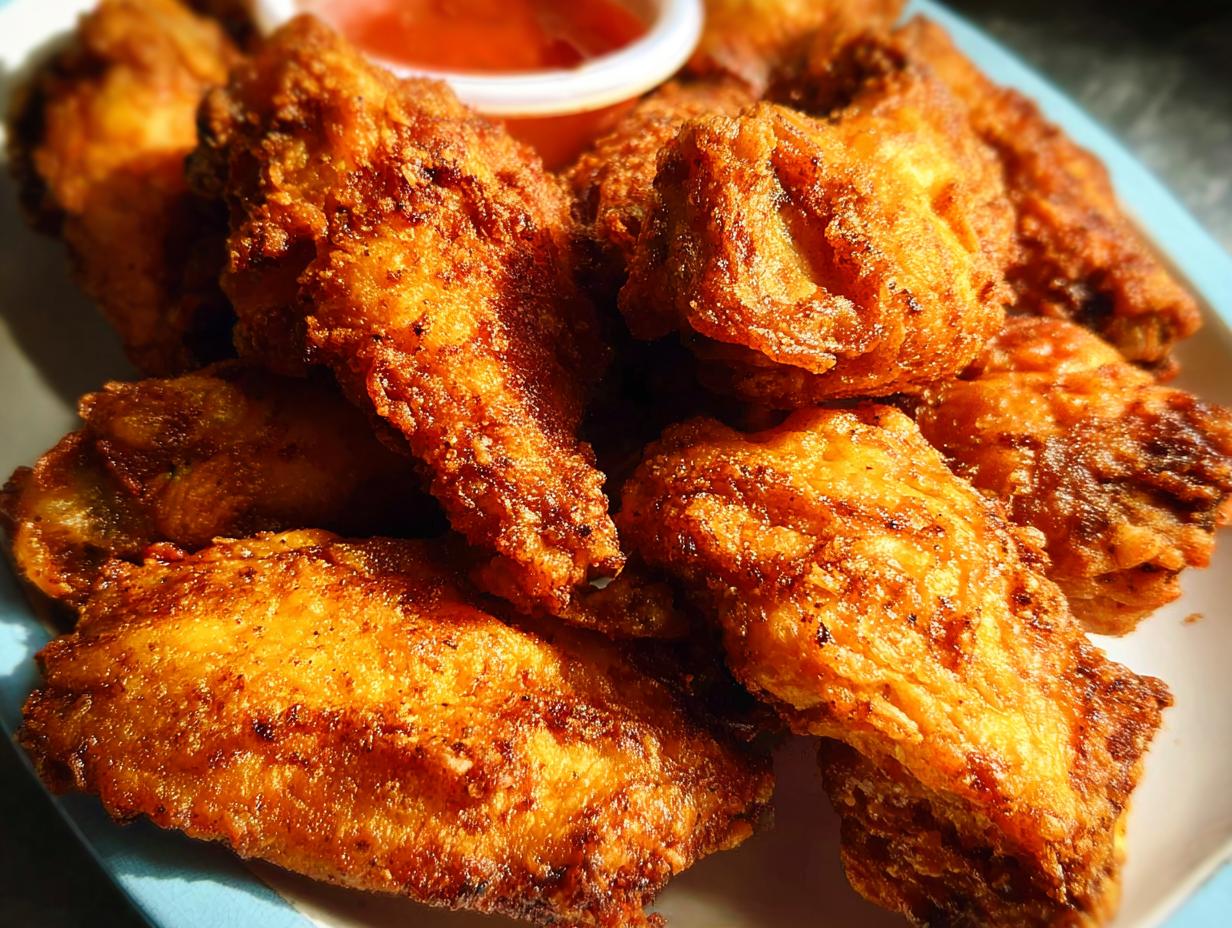
Oh, chicken wings! Seriously, is there anything better for game day, a casual get-together, or just, you know, Tuesday night? But if you’re like me when I first started out, the idea of making them at home can feel a little… intimidating. You see those perfectly crispy, golden wings on TV and think, “There’s no way I can do that!” Well, I’m here to tell you, YES YOU CAN! This guide, The Ultimate Chicken Wings Recipes Guide for Beginners, is all about making those glorious, crispy chicken wings totally achievable, even if your kitchen skills are still a work in progress. I remember my first attempt – they were pale, a little soggy, and definitely not photo-worthy. But I stuck with it, and now I’m sharing all those learned secrets with you!
Why You’ll Love This Ultimate Chicken Wings Recipes Guide for Beginners
Seriously, why should you bother with this guide? Because perfect, crispy chicken wings are totally doable! You’ll love this because:
- It’s super easy: Even if you’re just starting out, you can nail this recipe.
- Game day ready: These wings are a total crowd-pleaser.
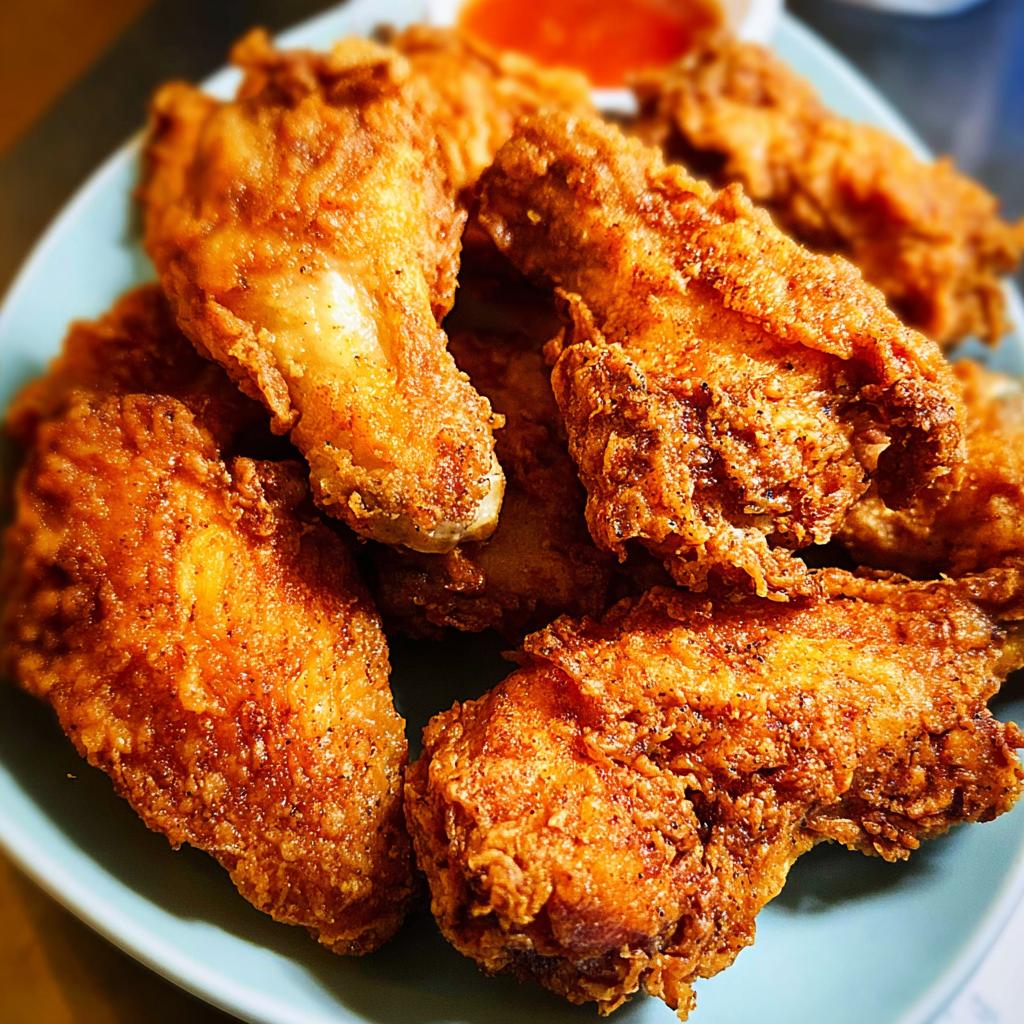
- Amazing taste: Crispy on the outside, juicy on the inside – perfection!
- Beginner-friendly: We break down everything so you can’t go wrong.
This isThe Ultimate Chicken Wings Recipes Guide for Beginners, designed to make you a wings hero!
Essential Ingredients for Crispy Chicken Wings
Alright, let’s get down to business with what you’ll need to make these incredible, crispy chicken wings! Don’t worry, it’s all pretty straightforward stuff you can usually find at any grocery store. Using good quality ingredients really does make a difference, especially with something as simple and delicious as wings!
First up, we have the star of the show:
- 2 pounds chicken wings: Make sure they’re separated into drumettes and wings. You’ll get about 12 pieces total.
- 3/4 teaspoon kosher salt: We’ll divide this up, so don’t dump it all in at once!
- 1/2 cup all-purpose flour: This is key for getting that golden, crispy coating.
- 1 teaspoon paprika: For a little color and mild flavor.
- 1/2 teaspoon garlic powder: Because garlic makes everything better.
- 1/4 teaspoon onion powder: Just a hint of savory goodness.
- 1/4 teaspoon fresh ground black pepper: Plus a little extra for sprinkling later.
- 1/8 teaspoon cayenne pepper: For a tiny little kick! (Totally optional if you’re not a fan of heat).
And for the actual frying part:
- 6 cups canola oil: Or another neutral oil like vegetable or peanut oil, for deep-frying. Make sure you have enough to fill your fryer safely!
Trust me, having everything measured out and ready to go makes the whole cooking process so much smoother. It’s like setting yourself up for success! Making something crispy and delicious doesn’t have to be complicated, and you can find other great crispy recipes like these zucchini fries to get inspired!
Step-by-Step Guide to Making The Ultimate Chicken Wings Recipes for Beginners
Alright, deep breaths! Making these wings is way simpler than you think. Seriously, this is where The Ultimate Chicken Wings Recipes for Beginners truly shines. We’re going to break it down so you feel like a pro. Just follow these steps, and you’ll be bragging about your homemade wings in no time!
Preparing the Chicken Wings
First things first, you gotta get those wings ready. Grab some paper towels and really pat those chicken wings dry. I know it sounds basic, but this is super important for getting that nice, crispy skin we’re all after. Once they’re nice and dry, toss ‘em into a big bowl. Sprinkle that flour, paprika, salt, pepper, and all those other yummy spices right over them. Give it a good shake and toss until every single wing is nicely coated. Trust me, this coating is your ticket to crispy perfection!
Frying the Chicken Wings to Perfection
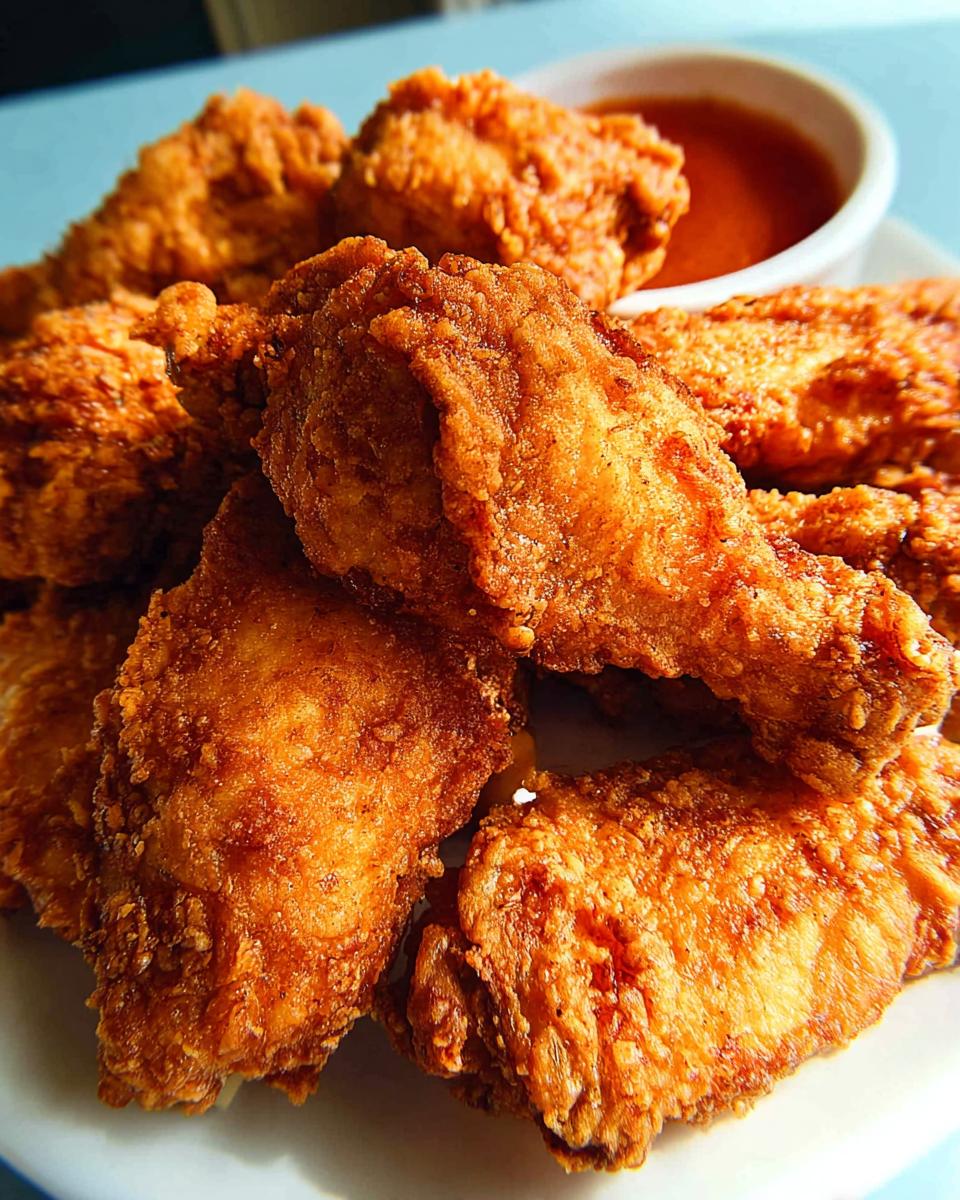
Now for the fun part – the frying! Get your deep fryer all warmed up and make sure that oil reaches a nice, steady 375°F (190°C). Safety first here, okay? Slowly and carefully lower your coated chicken wings into the hot oil. Don’t crowd the pan! Fry them in batches if you have to. We’re talking about 15 to 20 minutes in that bubbling goodness, until they’re a beautiful golden brown and cooked all the way through. If you’re not sure, you can always check the internal temperature with a meat thermometer – you want it to hit 165°F (74°C).
Finishing and Serving Your Crispy Wings
Once they’re perfectly cooked, carefully lift those gorgeous wings out of the oil. Let them drain on a plate lined with fresh paper towels. Give them a sprinkle of that extra kosher salt while they’re still hot. And there you have it! Serve them up immediately while they’re hot and extra crispy. Honestly, a few of my favorite serving ideas include a simple blue cheese dip or a spicy ranch. You can find more awesome frying tips here if you’re curious: thekitchn.com.
Tips for The Ultimate Chicken Wings Recipes Success
Okay, so you’ve got the basic recipe down, but let’s talk about taking these wings from “pretty good” to absolutely legendary! Achieving that perfect, crispy exterior every single time is totally doable with a few little tricks. This guide, The Ultimate Chicken Wings Recipes for Beginners, is all about making sure you succeed!
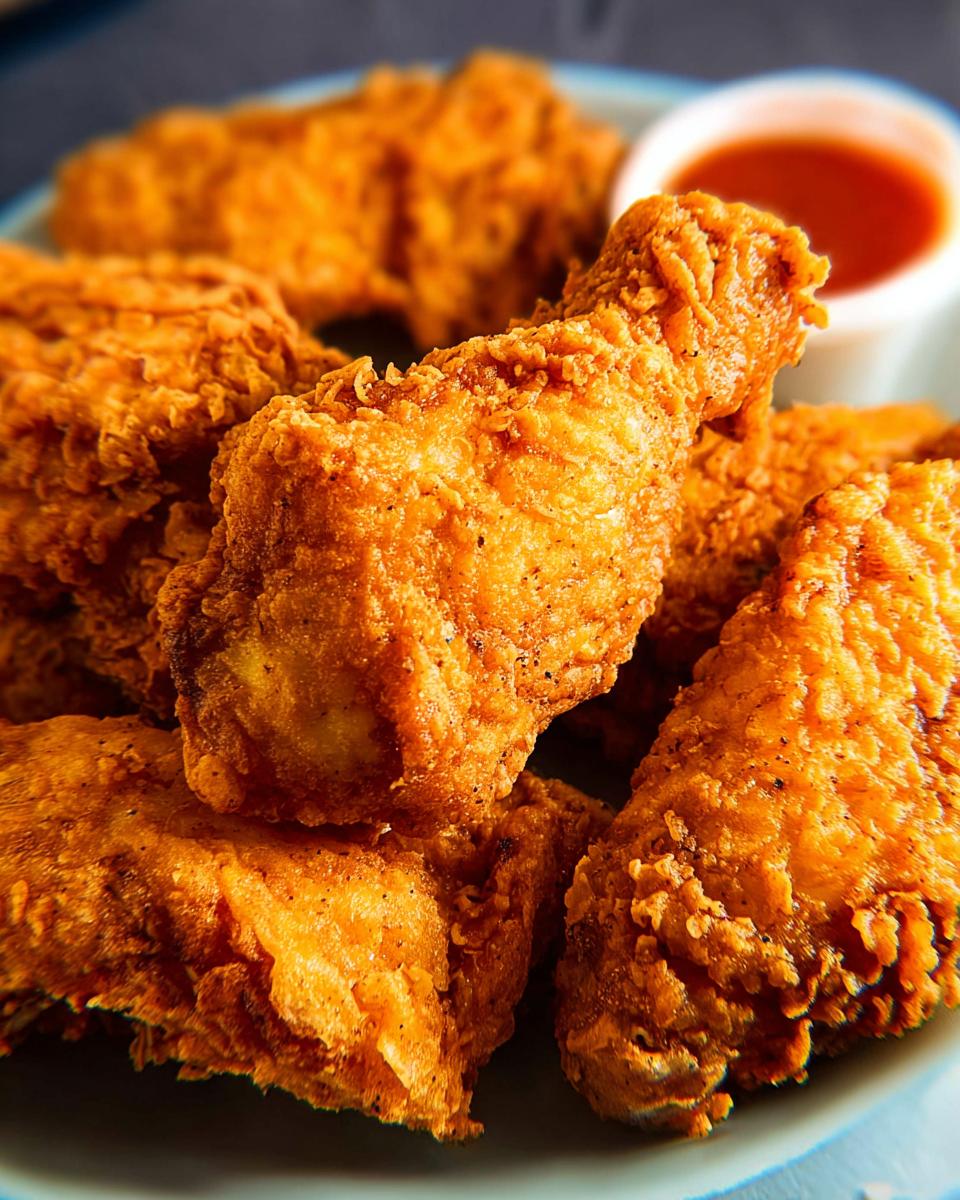
First, that recipe note about extra crispy skin? It’s gold! For real, if you want wings that practically shatter when you bite into them, let those coated wings hang out on the counter for about 15 minutes before they hit the fryer. It helps the coating adhere and dry out a bit. Another pro move is double-frying. Yes, really! Fry them for about 10 minutes, pull them out, let them rest for a few minutes, then pop them back into the hot oil for another few minutes until they’re super golden and crispy. It sounds extra, but trust me, it’s worth it.
A common pitfall is overcrowding the fryer, which just makes the wings steam instead of fry. Resist the urge! Work in batches. Also, make sure your oil is at the right temperature before you even think about adding wings. Too cool and they get greasy; too hot and they burn before they cook through. Just listen to your gut with those cues, and you’ll be golden. Want more ideas for crunchy goodness? Try making some homemade crunchy popcorn!
Flavor Variations for Your Chicken Wings
Okay, so you’ve mastered the crispy fried wing – high five! Now, the real fun begins. The beauty of a perfectly fried wing is that it’s basically a blank canvas for *all* the delicious flavors you can dream up. Forget boring wings; let’s get creative!
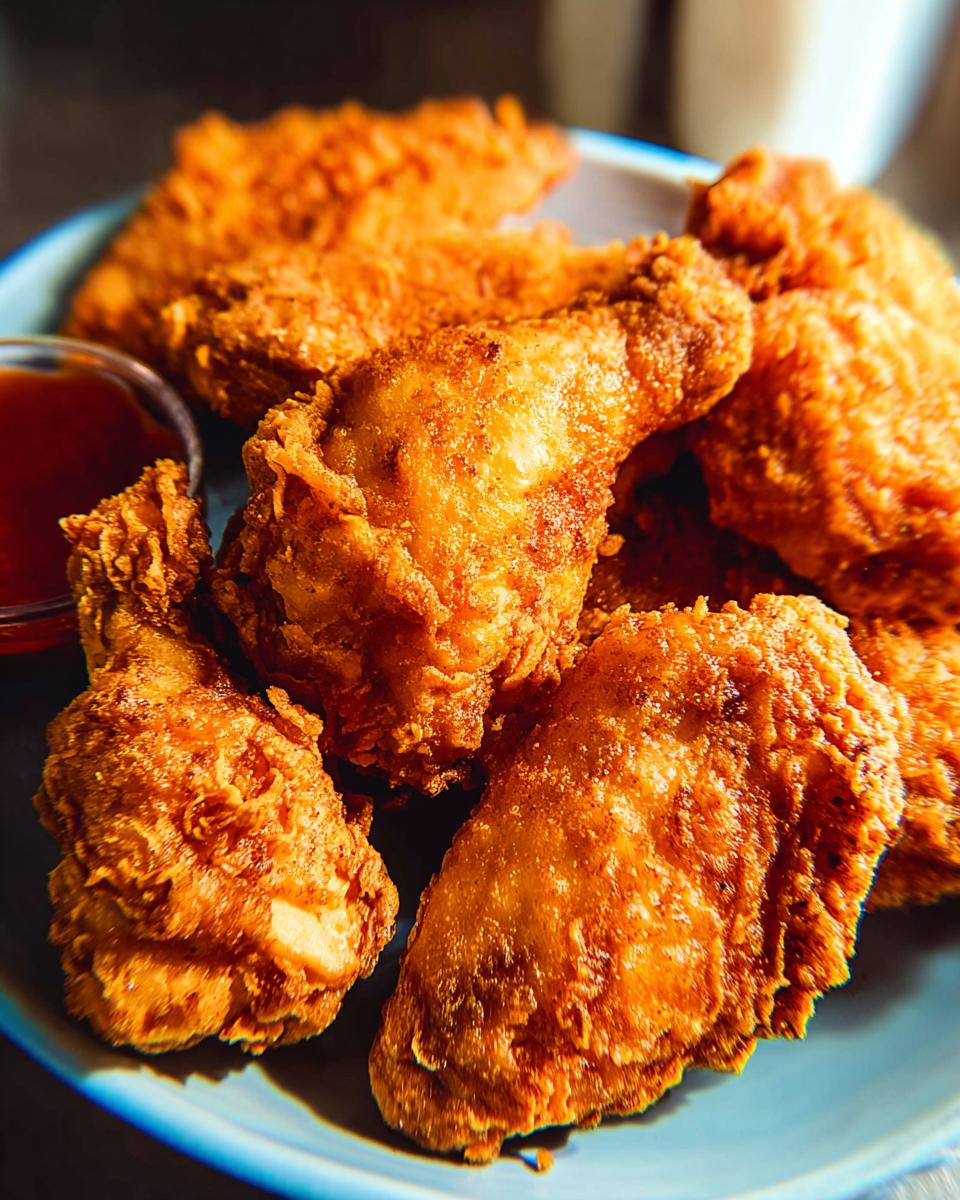
Right after they come out of the fryer and get that sprinkle of salt, you can toss them in practically anything. My absolute go-to is a classic Buffalo sauce – just melted butter mixed with your favorite hot sauce. Seriously addictive!
But don’t stop there! How about a sweet and sticky BBQ glaze? Or maybe a lemon pepper dredge for a zesty kick? Garlic parmesan is always a winner, just toss those hot wings with melted butter, minced garlic, and grated parmesan cheese. For something a little different, try a honey sriracha for sweet heat, or maybe a teriyaki sauce for that Asian-inspired flavor. You can even get inspiration from other dishes, like this grilled chicken wrap, and adapt those flavors!

Frequently Asked Questions about Crispy Chicken Wings
Got questions? I’ve got answers! Making perfect chicken wings doesn’t have to be a mystery. Here are some common things folks ask when they’re getting started:
Can I bake chicken wings instead of frying?
Oh, absolutely! While frying gives you that ultimate crispy texture, baking is totally a viable option, especially if you’re looking for something a little lighter or just don’t want to deal with oil. To get them nice and crispy in the oven, make sure you pat them super dry first – that’s key! Then toss them with your seasonings and arrange them on a wire rack set inside a baking sheet. This allows the air to circulate around them. Bake them at around 400°F (200°C), flipping halfway through, until they’re golden brown and cooked through. It takes a bit longer, but you can still get a pretty darn good crispy wing!
How do I make chicken wings crispy without frying?
So, baking is one way, but you can also use a few other tricks! A lot of people swear by using baking powder (not to be confused with baking soda!) in their dry rub. A little bit, like 1-2 teaspoons per pound of wings, helps draw out moisture and makes the skin get super crispy. Also, consider air frying! Air fryers are designed to circulate hot air, giving you that fried-like crispiness with much less oil. Just make sure not to overcrowd the basket. So many ways to get that satisfying crunch!
What oil is best for frying chicken wings?
For frying, you really want a neutral oil with a high smoke point. That means it can get nice and hot without burning. Canola oil, vegetable oil, and peanut oil are all excellent choices and what I usually reach for. They don’t have a strong flavor, so they won’t interfere with the taste of your yummy wings. Just make sure you have enough to fill your deep fryer safely – usually around 6 cups for most standard fryers. Avoid olive oil for deep frying, as its smoke point is too low and it can impart an undesirable flavor.
My wings aren’t crispy enough. What did I do wrong?
Don’t you worry! It happens to the best of us. Usually, if your wings aren’t crispy, it’s because of moisture. Did you pat them *really* dry before coating and frying? That’s step one! Another culprit could be overcrowding the fryer – too many wings at once lowers the oil temperature, causing them to steam instead of fry. Try working in smaller batches. Also, double-checking that your oil temperature is correct (around 375°F!) is crucial. If it’s too low, they won’t crisp up properly.
For more amazing recipes and tips, check out our recipe section!
Equipment Needed for The Ultimate Chicken Wings Recipes Guide
Alright, let’s get you prepped! Having the right gear makes whipping up The Ultimate Chicken Wings Recipes for Beginners so much easier. Don’t worry, you probably have most of this already! You’ll want a deep fryer for that perfect crisp, or a heavy-bottomed pot if you’re doing it stovetop. A large bowl is essential for coating those wings. Plus, your trusty measuring cups and spoons for getting the spices just right. And definitely have plenty of paper towels on hand for draining those beautiful, crispy wings!
Nutritional Information Disclaimer
Just a friendly heads-up: any nutritional information you might see for these delicious chicken wings is purely an estimate. It can change a lot depending on the specific ingredients you use, the brands you pick, and exactly how you prepare them. For the most accurate details, it’s always best to do your own calculations based on your ingredients. You can find more about that on our privacy policy page!
Share Your Crispy Chicken Wings Creations
So, did you whip up a batch of these amazing crispy chicken wings? I’d absolutely love to hear about it! Drop a comment below, tell me what you thought, or maybe even share a picture of your culinary masterpiece. You can also find us and tag us on social media! If you’ve got questions or just want to say hi, head over to our contact page!
The Ultimate Chicken Wings Recipes Guide for Beginners
Ingredients
Equipment
Method
- Pat the chicken wings dry with paper towels. In a large bowl, combine the flour, paprika, garlic powder, onion powder, 1/4 teaspoon of the kosher salt, black pepper, and cayenne pepper. Add the chicken wings to the bowl and toss to coat evenly with the flour mixture.
- Heat the canola oil in a deep fryer to 375°F (190°C).
- Carefully add the coated chicken wings to the hot oil, working in batches if necessary to avoid overcrowding the fryer. Fry for 15-20 minutes, or until golden brown and cooked through. The internal temperature should reach 165°F (74°C).
- Remove the chicken wings from the oil and place them on a plate lined with paper towels to drain excess oil. Sprinkle with the remaining 1/2 teaspoon of kosher salt.
- Serve hot and enjoy your crispy chicken wings.